Appearance
Installation
Local installation
While ReXCart can be run locally for development and testing purposes, please note that we do not provide official support for local installations. If you choose to run ReXCart locally, you'll need to set up and maintain the environment yourself. Any issues that arise from local installations will need to be resolved independently.
Server Installation
WARNING
ReXCart must be installed on a main domain (e.g., rexcart.com) or subdomain (e.g., store.rexcart.com). Installing in a subfolder (e.g., rexcart.com/store) is not supported and will cause the application to malfunction.
Requirements
You should ensure that your web server has the following minimum PHP version and extensions.
- Apache or Nginx web server
- PHP >= 8.3
- MySQL 5.6+ or MariaDB 10.0+
- Ctype PHP Extension
- cURL PHP Extension
- DOM PHP Extension
- Fileinfo PHP Extension
- Filter PHP Extension
- Hash PHP Extension
- Mbstring PHP Extension
- OpenSSL PHP Extension
- PCRE PHP Extension
- PDO PHP Extension
- Session PHP Extension
- Tokenizer PHP Extension
- XML PHP Extension
Installing ReXCart is incredibly straightforward. You have the option to either watch our comprehensive video tutorial for a visual walkthrough, or follow our easy-to-follow step-by-step guide for a hassle-free installation experience.
Video Tutorial: Installing ReXCart
In this step-by-step video tutorial, we guide you through the process of installing ReXCart. This tutorial will help you get your online store up and running in no time.
Step by Step Guide : Installing ReXCart
ReXCart simplifies the installation process into three straightforward steps, ensuring that you can set up your e-commerce store efficiently. Let's walk you through each step:
Step 1: Extract and Upload
In this initial step, you will extract the ReXCart package and upload it to your server. This action lays the foundation for your e-commerce store by preparing the necessary files and directories. Here's a brief explanation of the process:
Extract: Unzip the downloaded package and change its name to your liking.
Upload: Upload this folder to your web server
public_htmlusing FTP or your Control Panel."
Step 2: Creating Database
Create a database using your server's control panel. If you have phpMyAdmin installed, you can also create the database through phpMyAdmin.
Step 3: Run Installation Wizard
With your files uploaded and ready, it's time to run ReXCart's Installation Wizard, which will guide you through the final setup process.
In your web browser, navigate to your ReXCart installation URL (e.g., http://yourdomain.com). You will be presented with the Installation Wizard Wellcome screen like below.
Welcome Screen
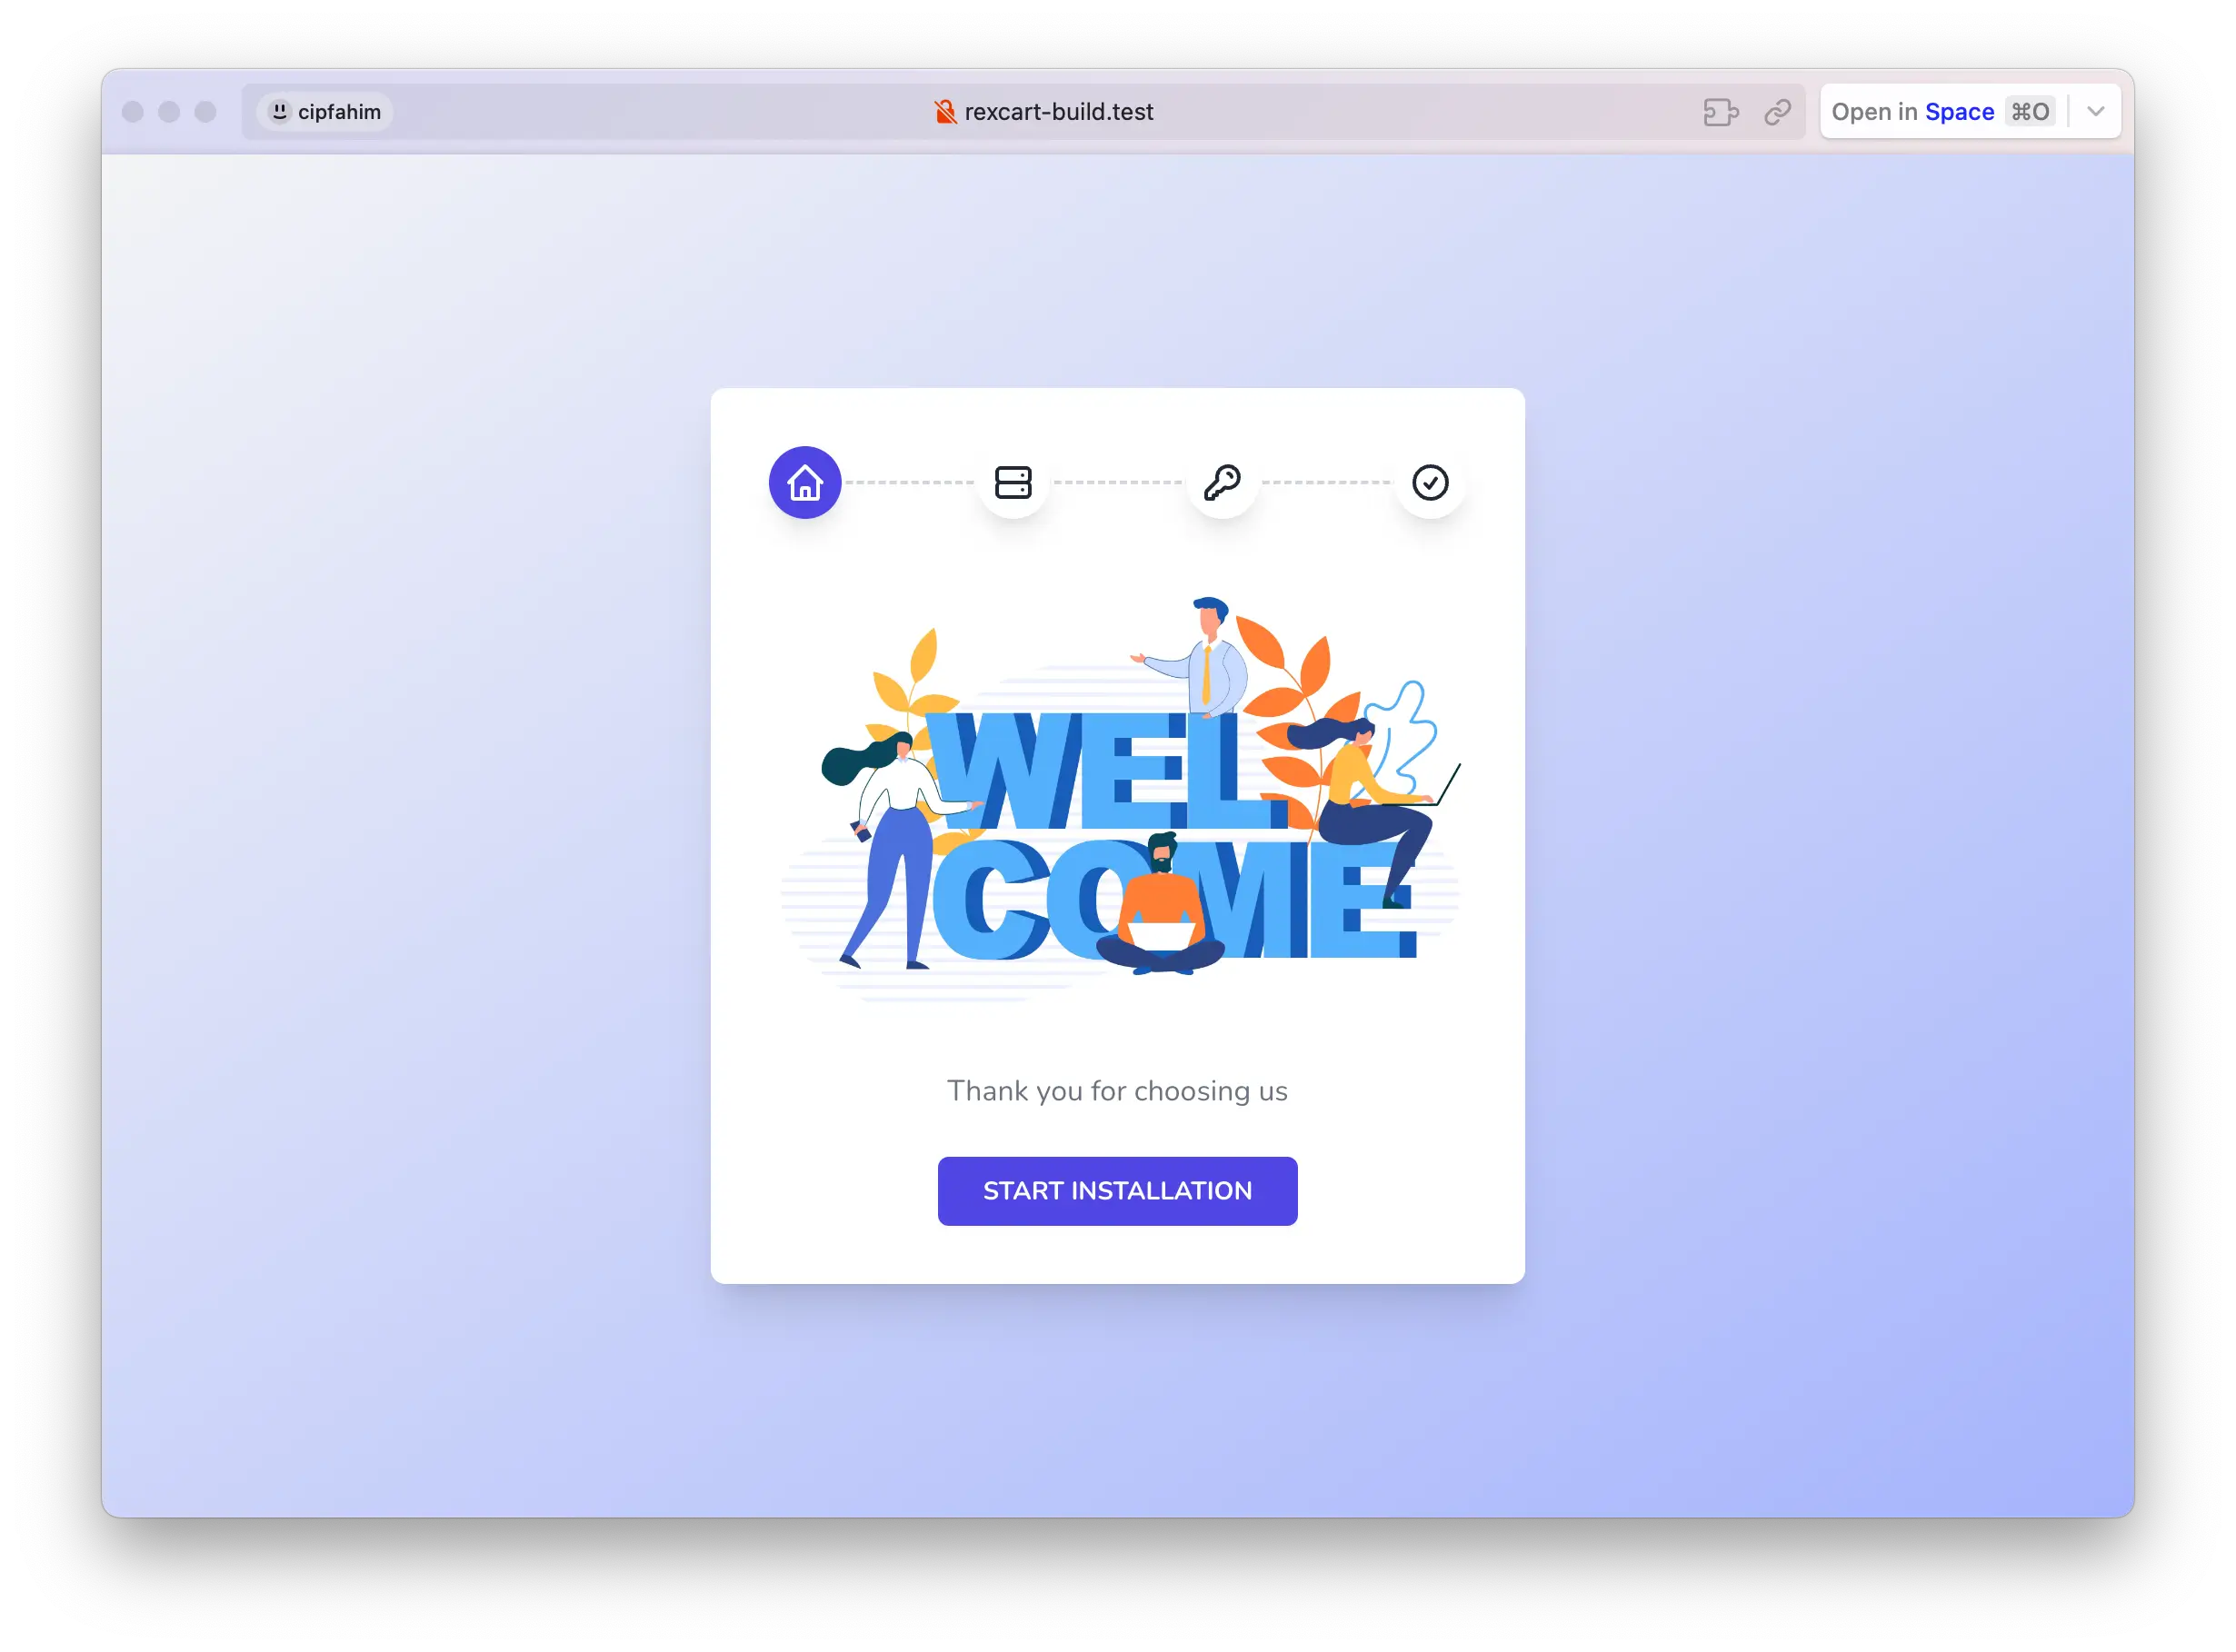
Click the START INSTALLATION button it will start the installation process and check the server requirements.
Server Requirements
In this step, the installer will conduct tests to ensure that your server meets the minimum requirements for running ReXCart
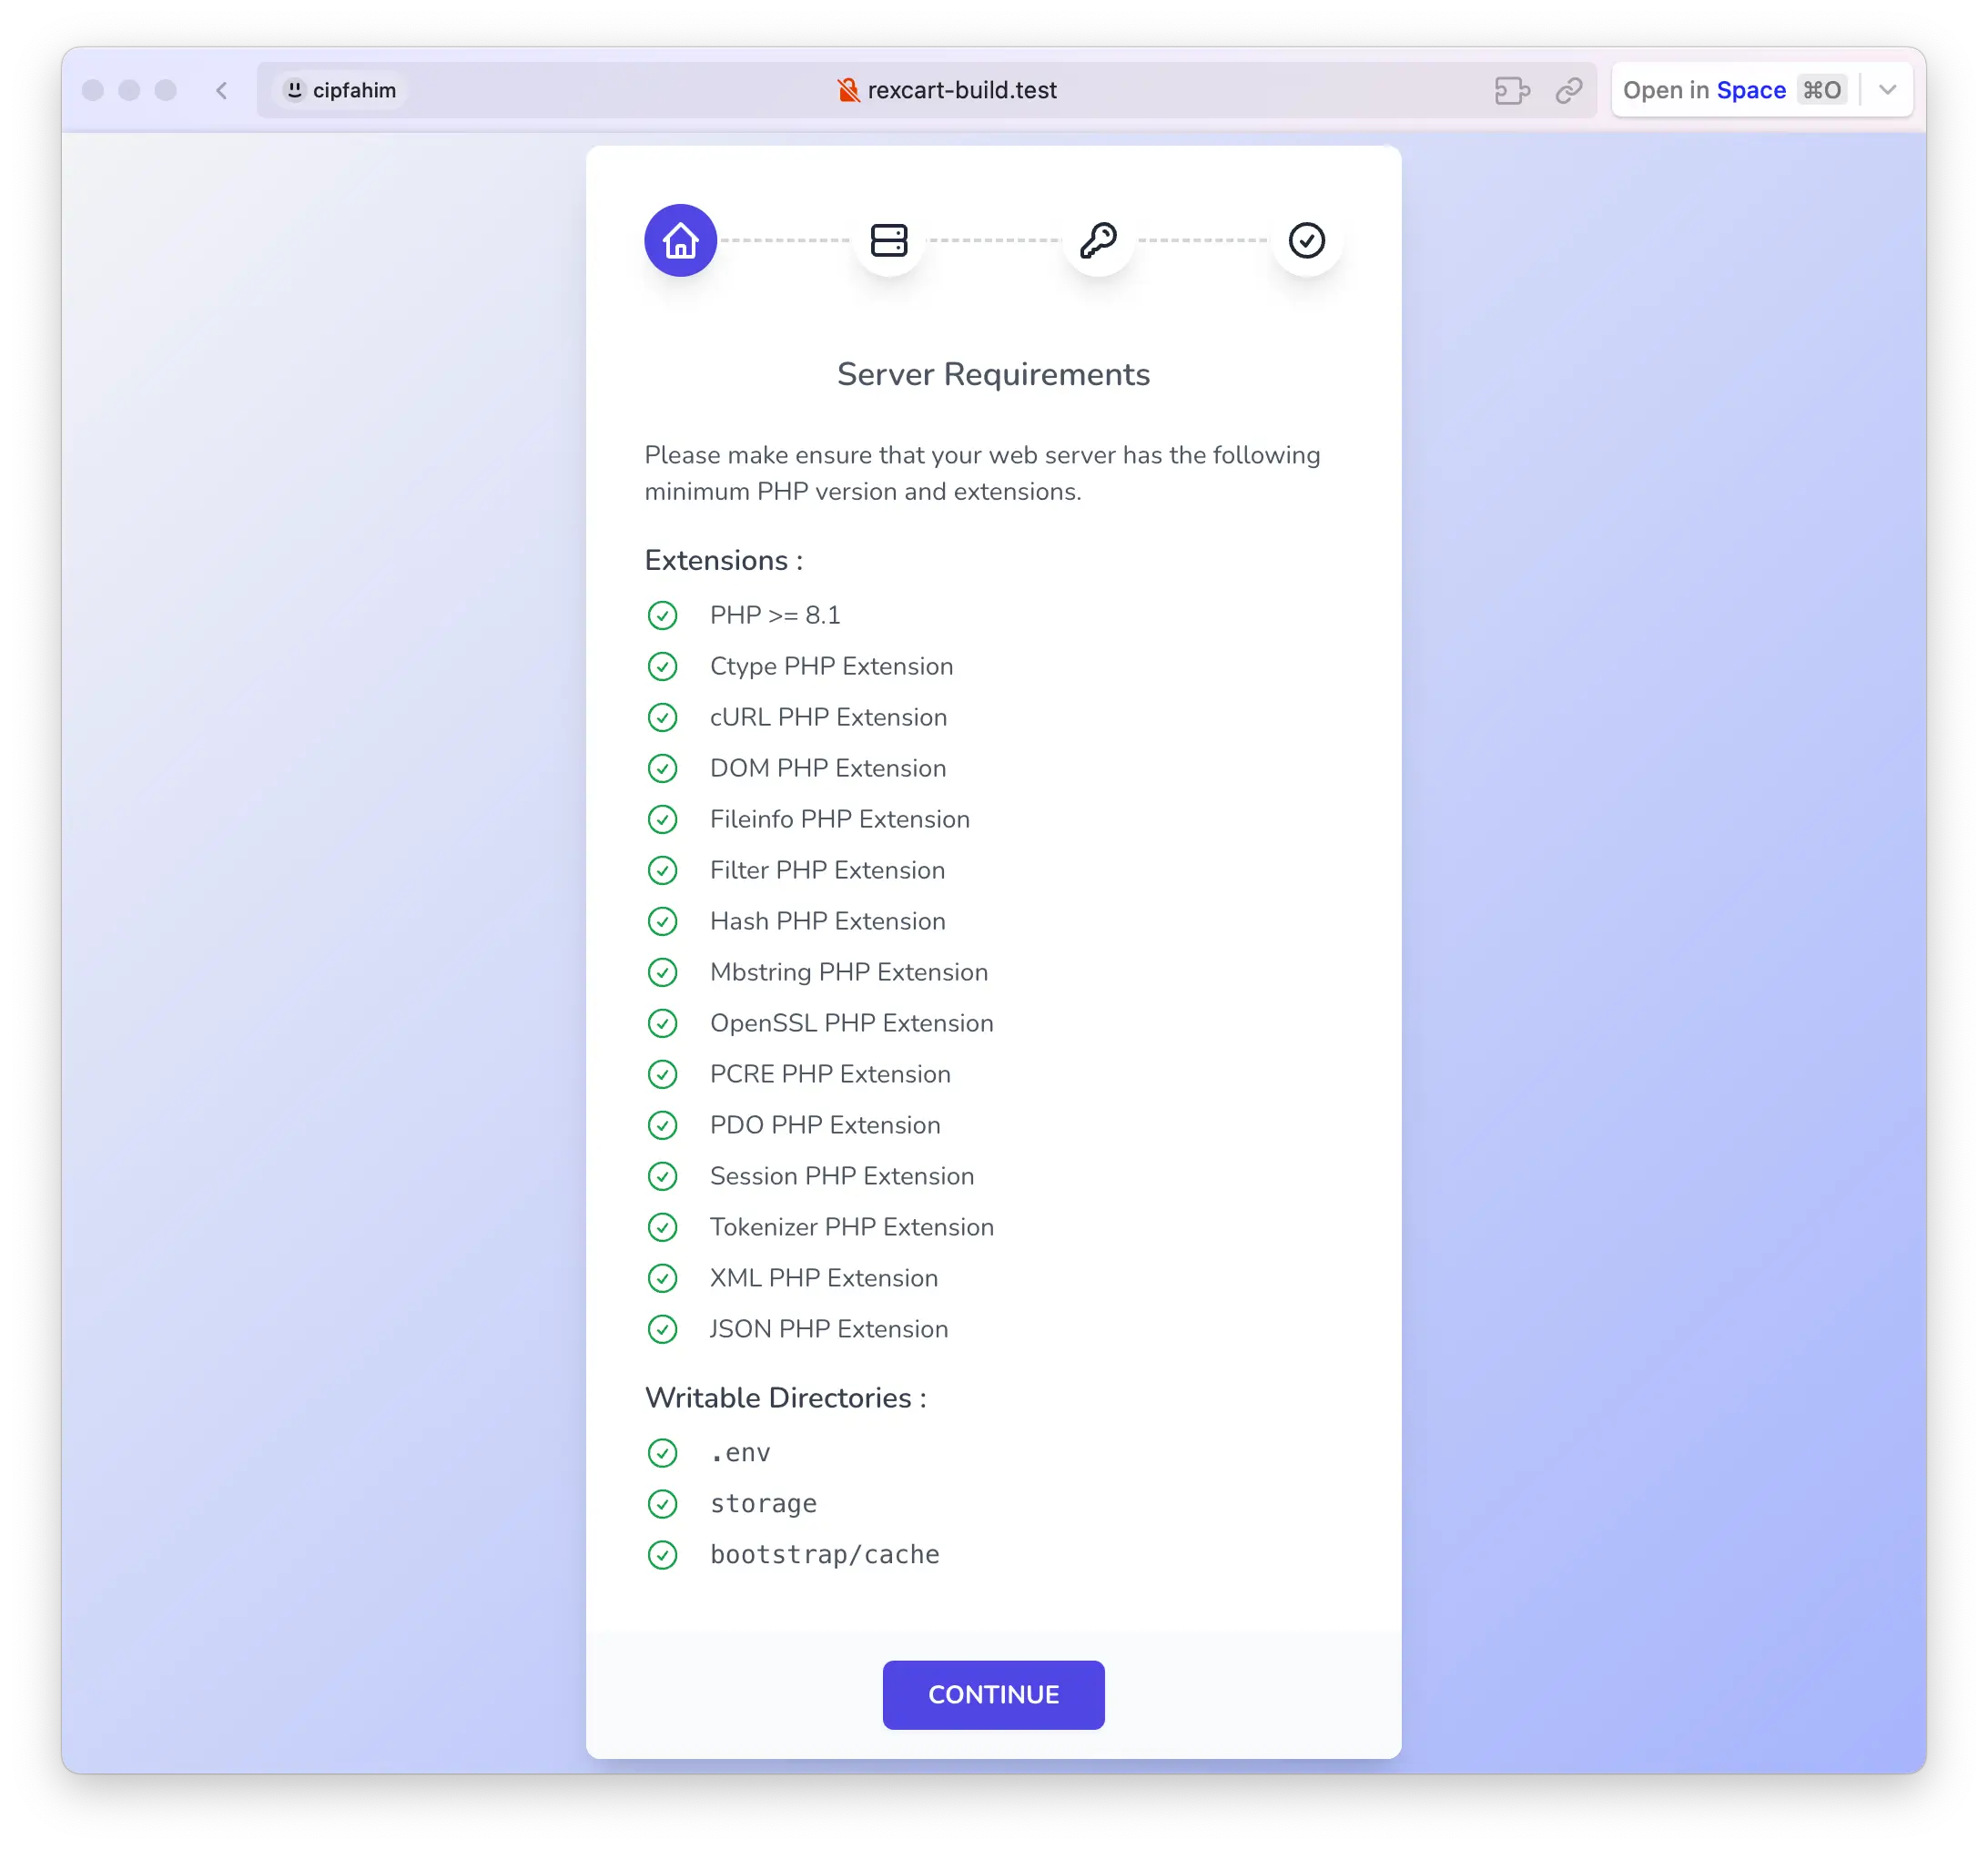
If you see green checkmarks next to all the mentioned points, you are good to go. However, if any of them has a red cross mark, you will need to configure your server to meet the requirements
Once you are ready, click the CONTINUE button.
Database Setup
Now, it's time to configure the database that ReXCart will utilize for storing your e-commerce store's data. This step is vital for the proper operation of your e-commerce system. To create the database, use your server's control panel. If you have phpMyAdmin installed, you can also create the database through phpMyAdmin
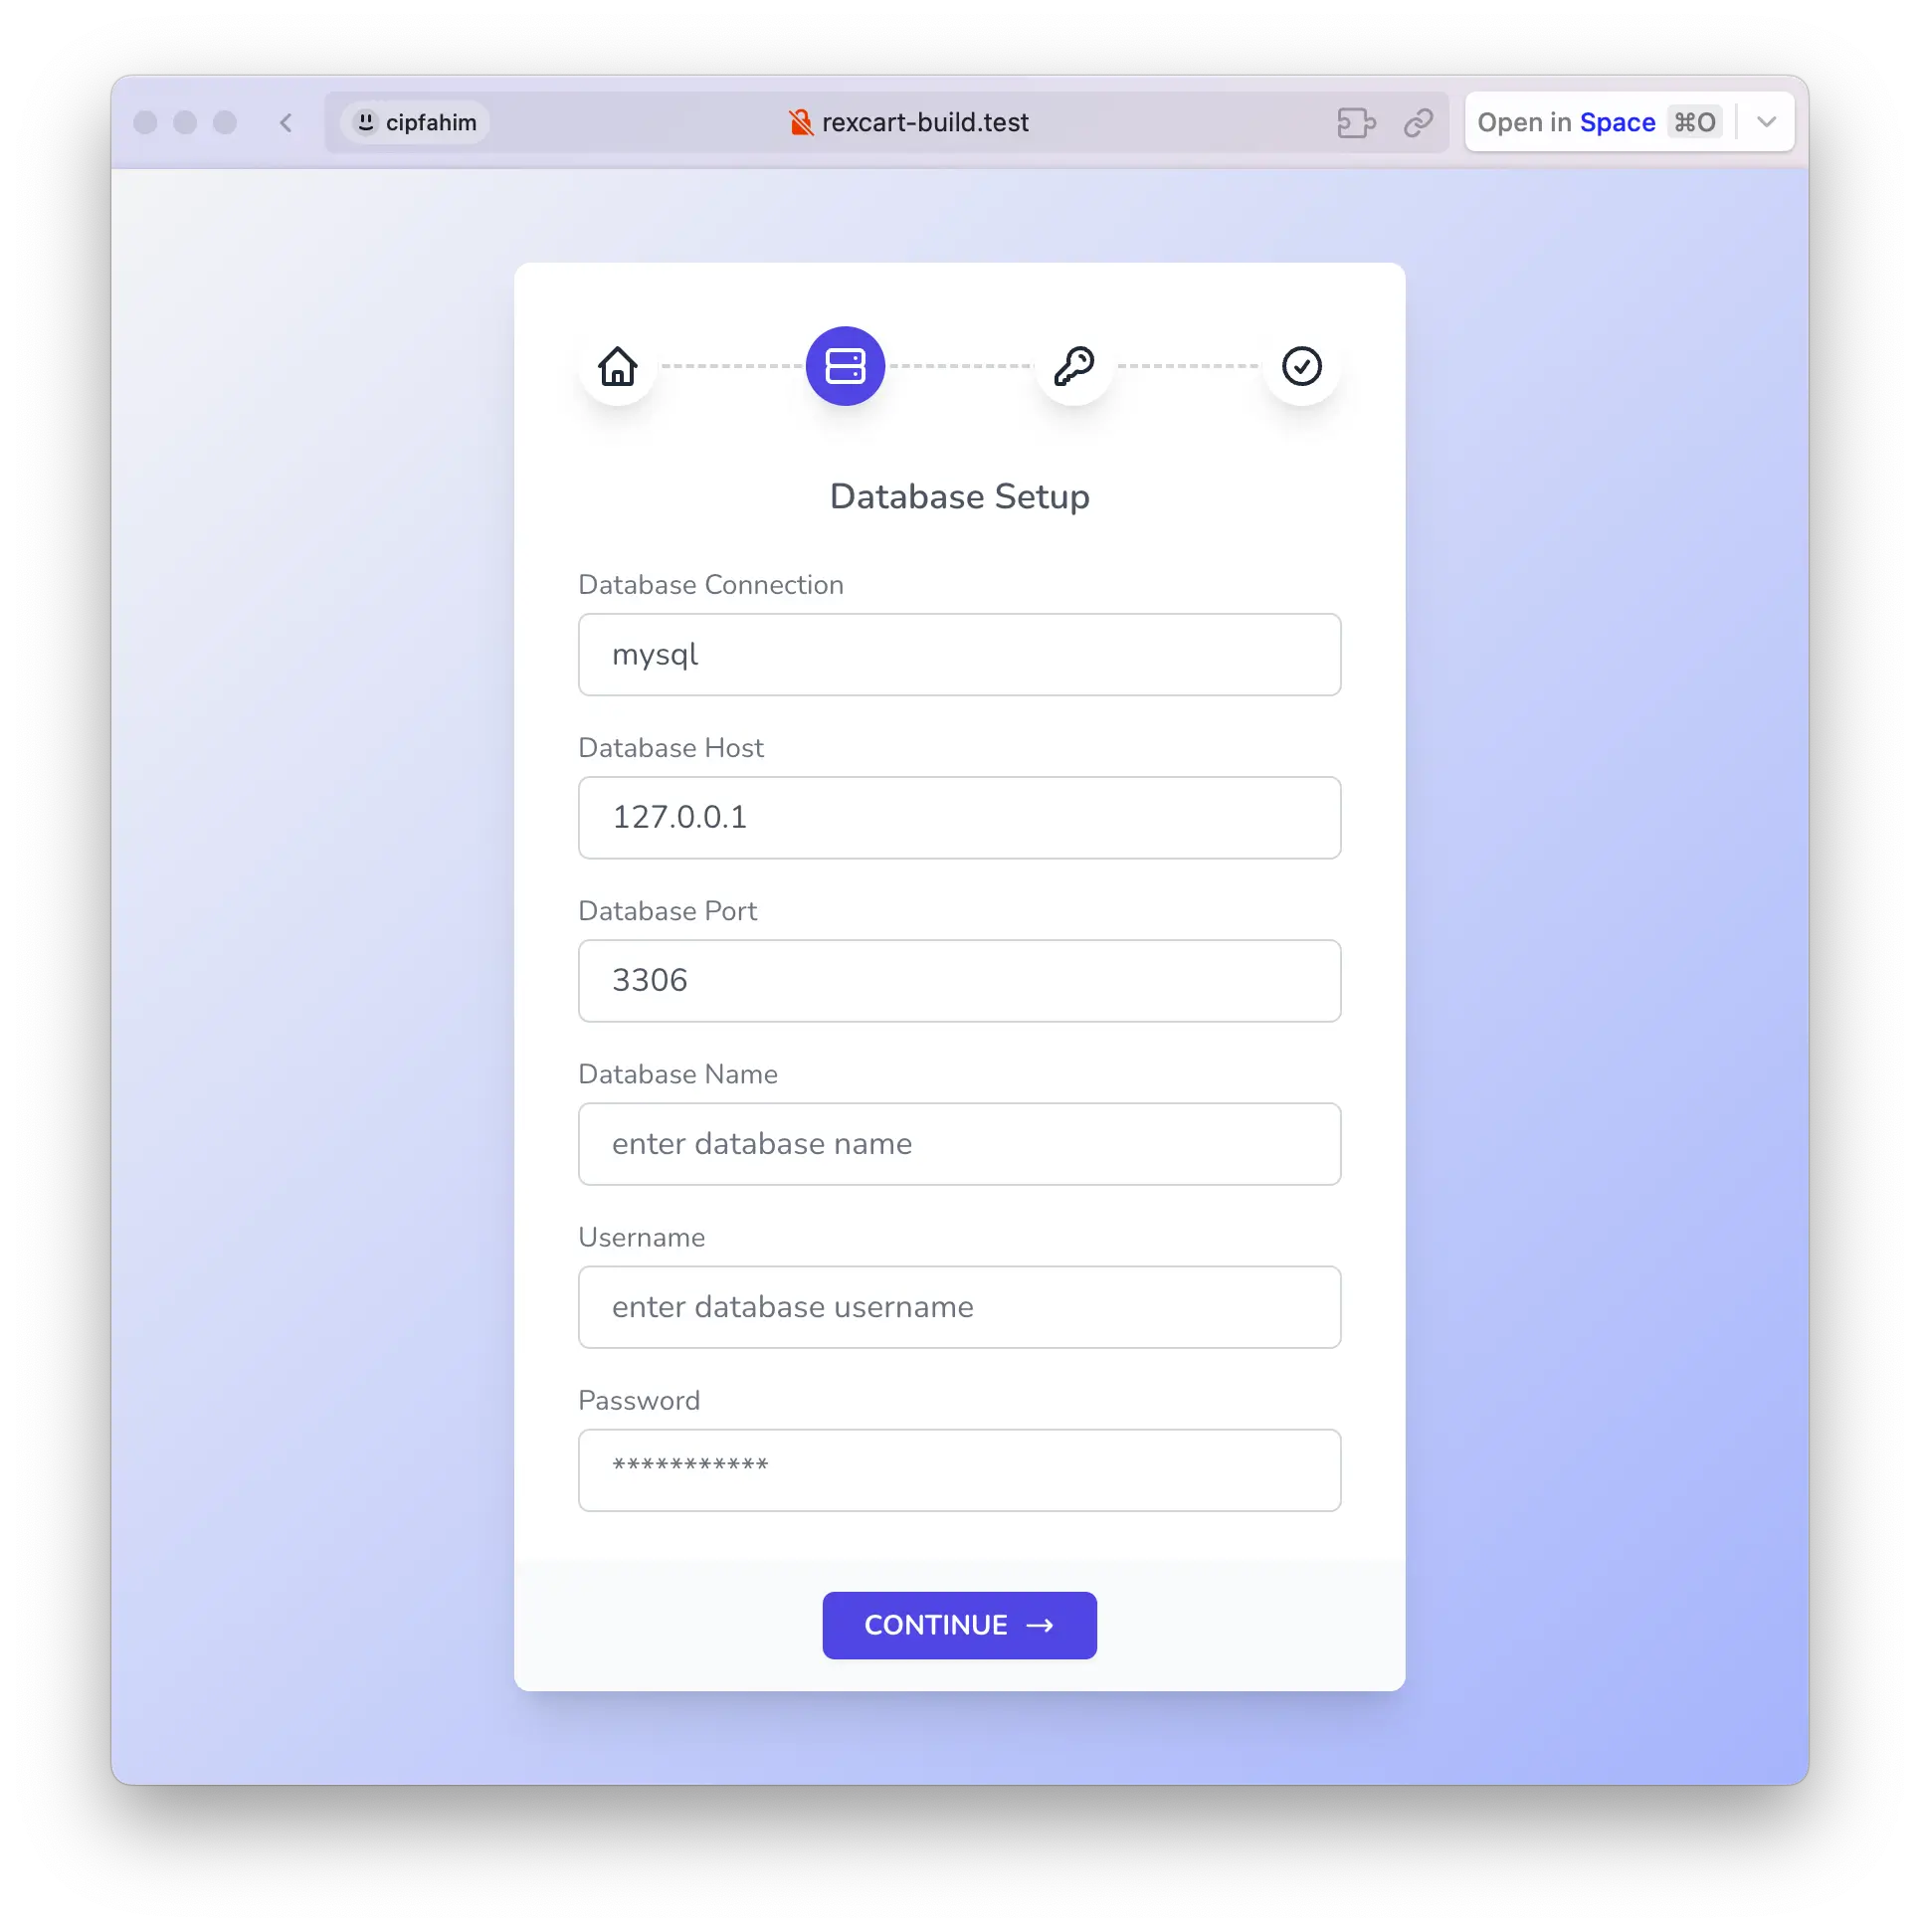
Enter your database name, username, password, and other required information. Afterward, click CONTINUE. The system will test your database connection, and if successful, you will be presented with a migration screen like the one below
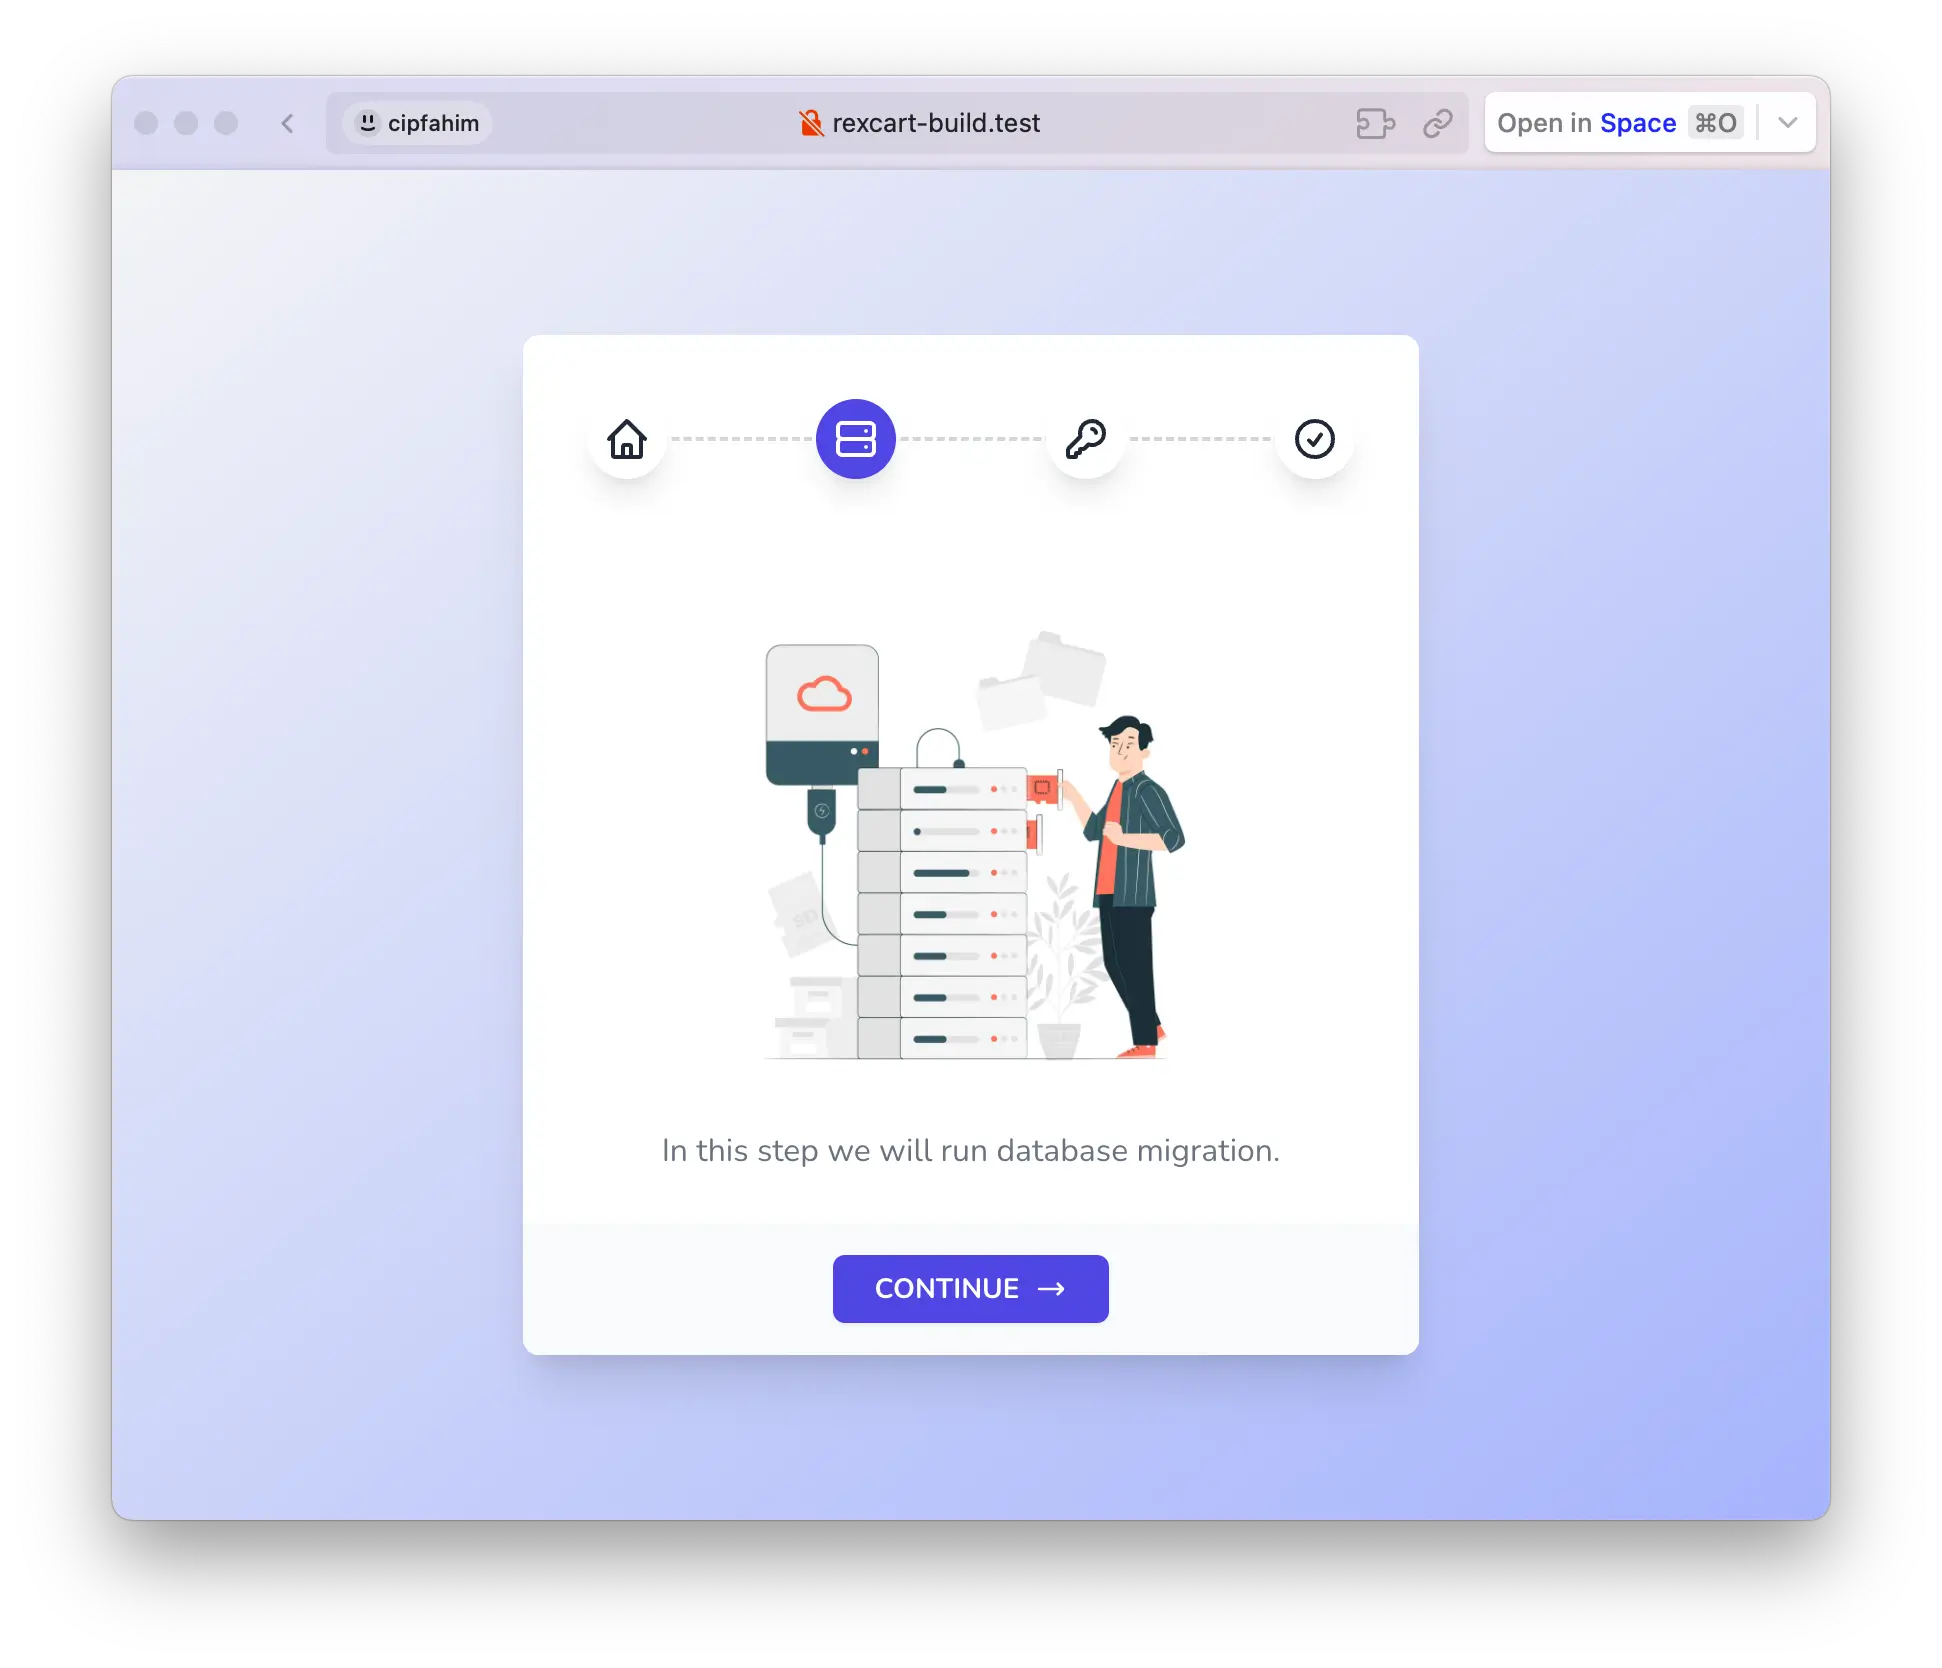
This step you just need to click CONTINUE.
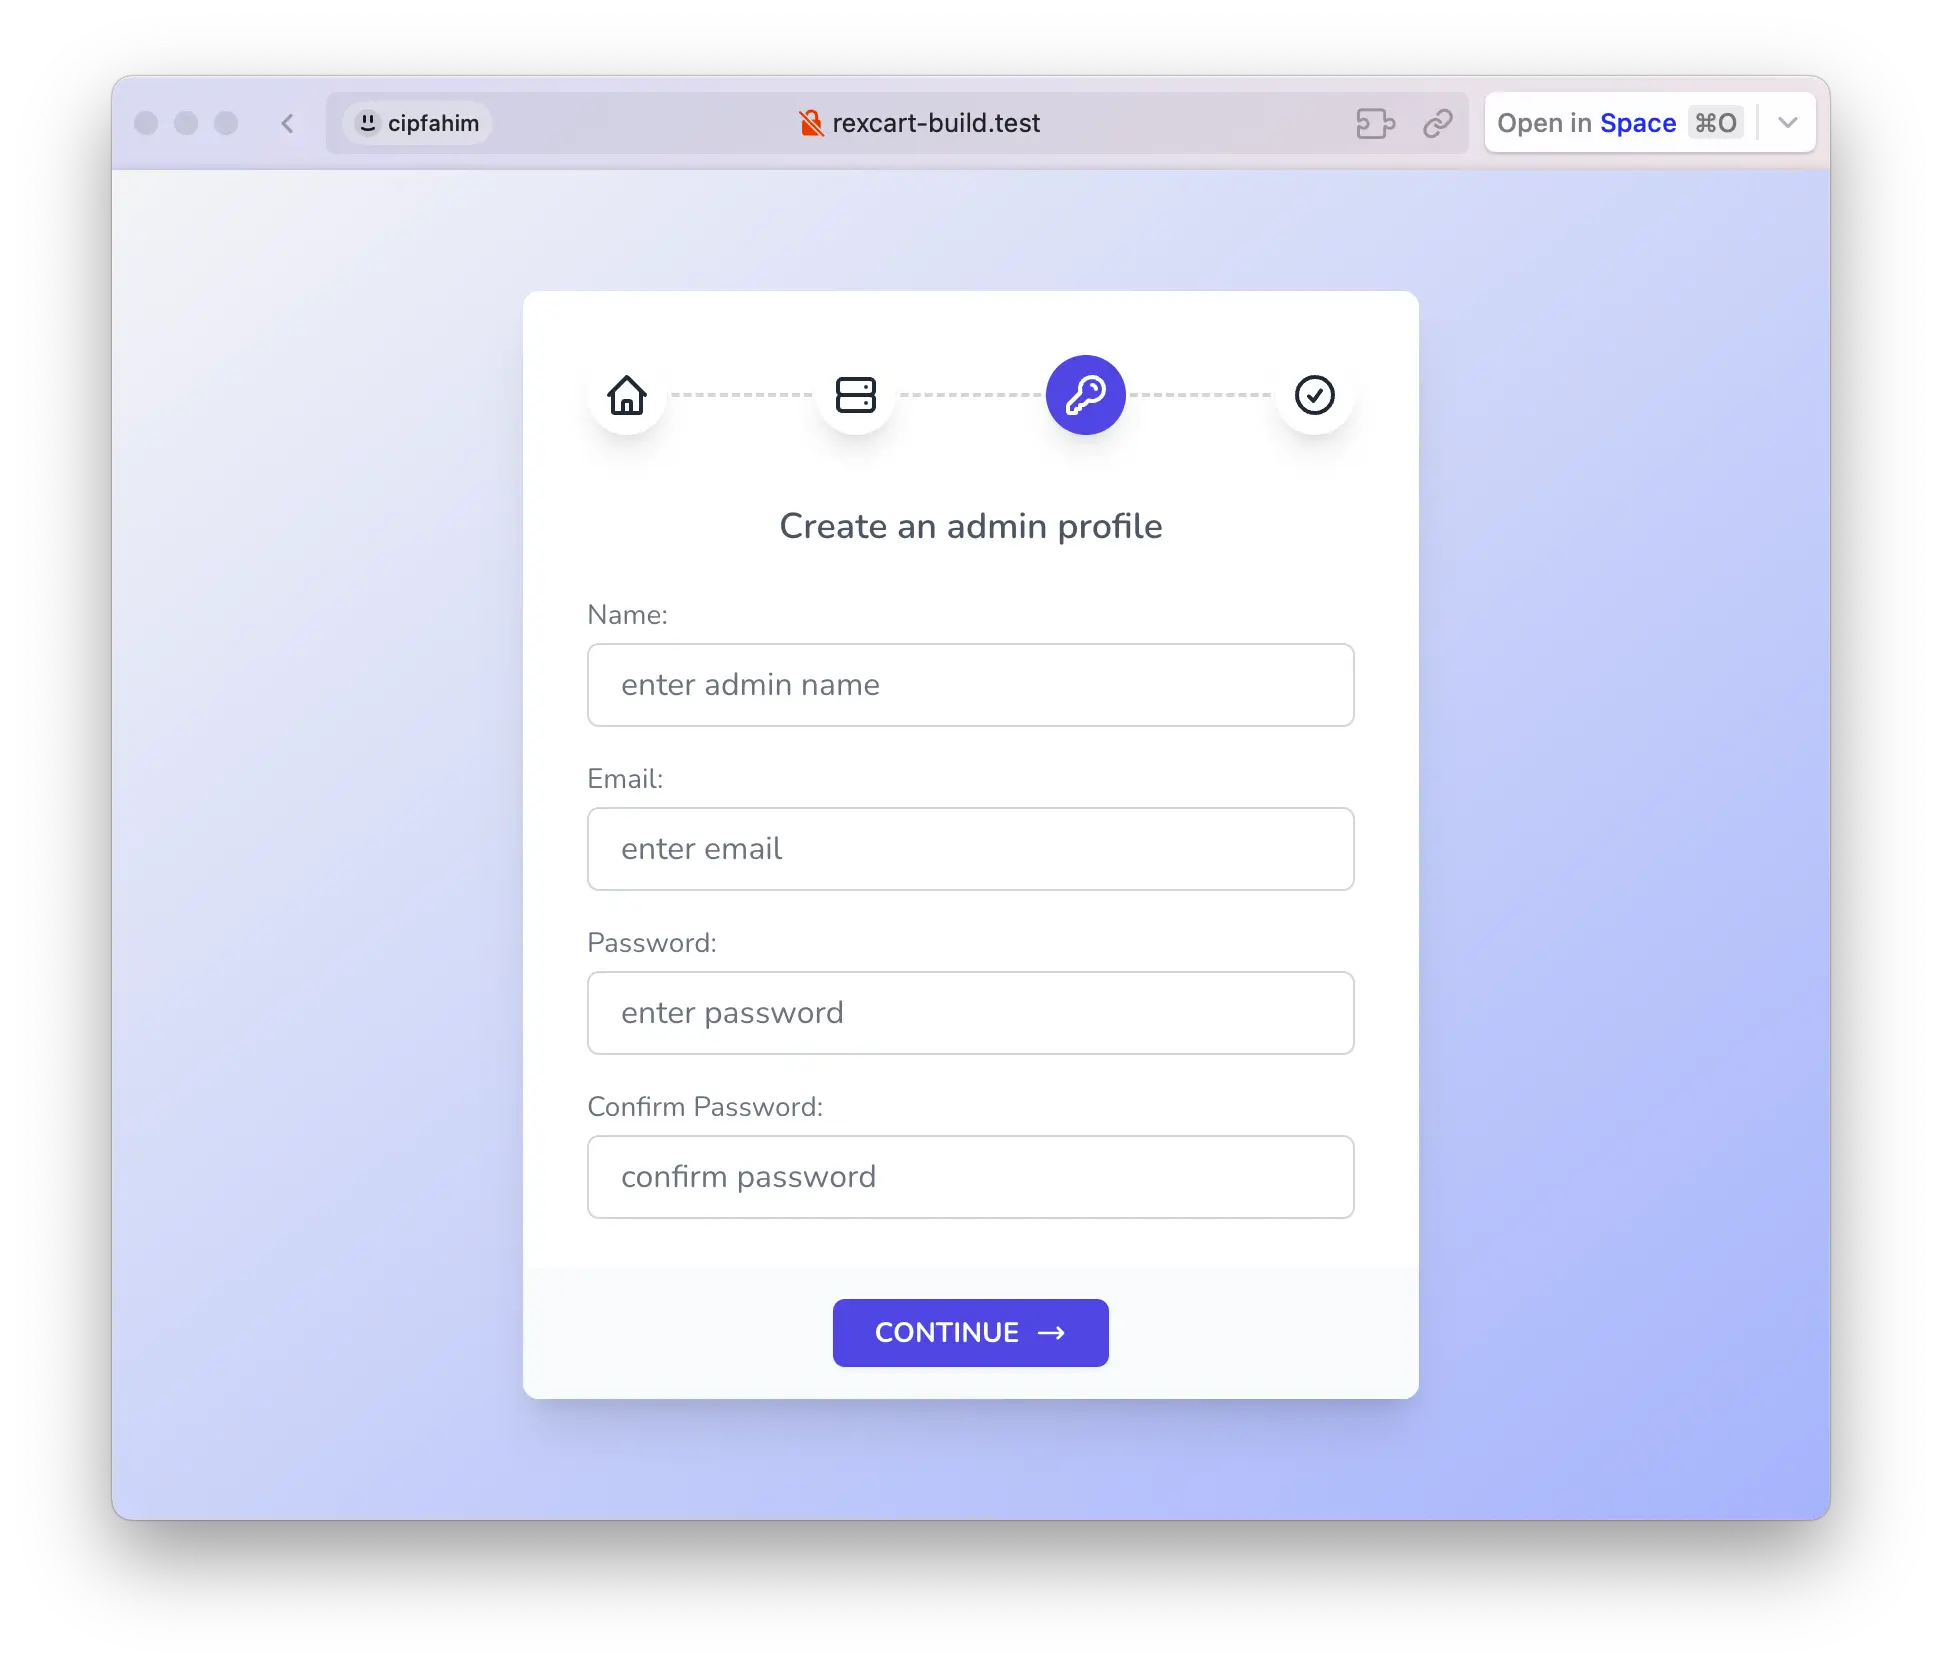
Create Admin Profile
Fill in the required information to create an admin user, including their name, email, and password. Then, click CONTINUE.
TIP
Remember, you will use this information to access the admin panel.
Store Information (Optional)
In this step, you'll provide essential details to configure your online store. This step covers important aspects such as store name, contact information, allowing you to personalize your store's identity to match your business needs.
TIP
You can always update store information later in the admin panel under Settings > General.
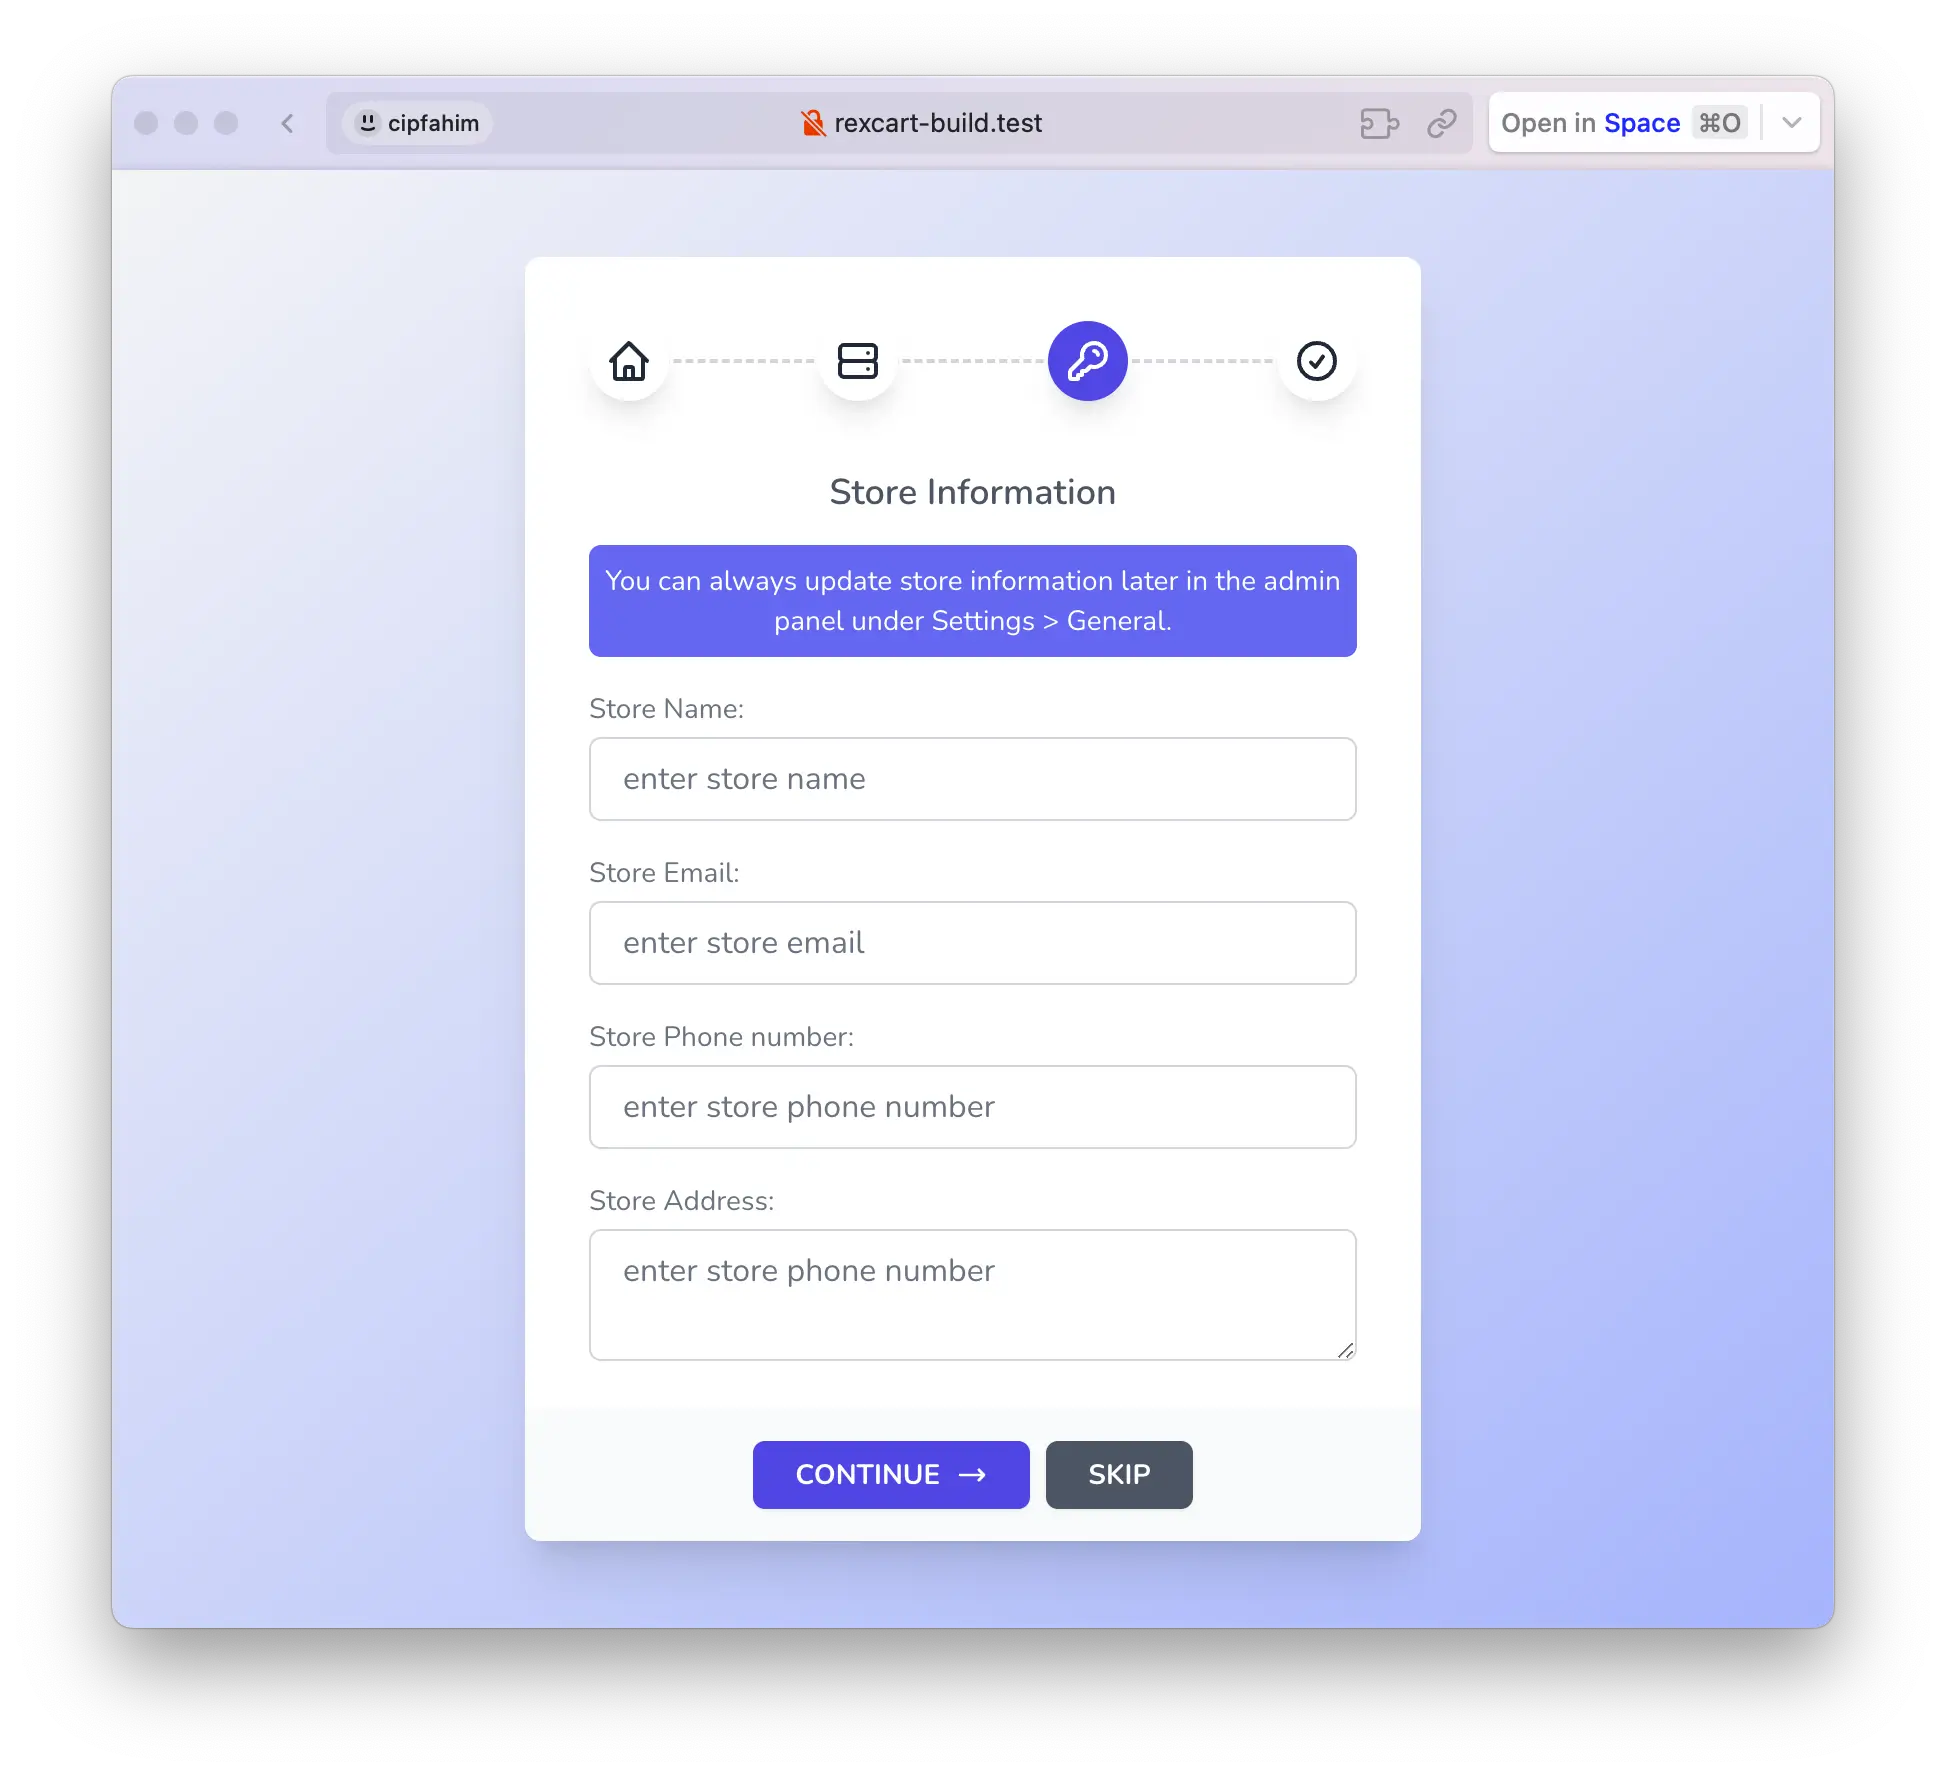
After you've finished entering the store information, you can click CONTINUE to proceed further, or if you prefer, you can click SKIP to set up store information later within the admin panel.
Finish
Congratulations, you will receive a success message screen on this step just simply click the FINISH button to exit the installer.
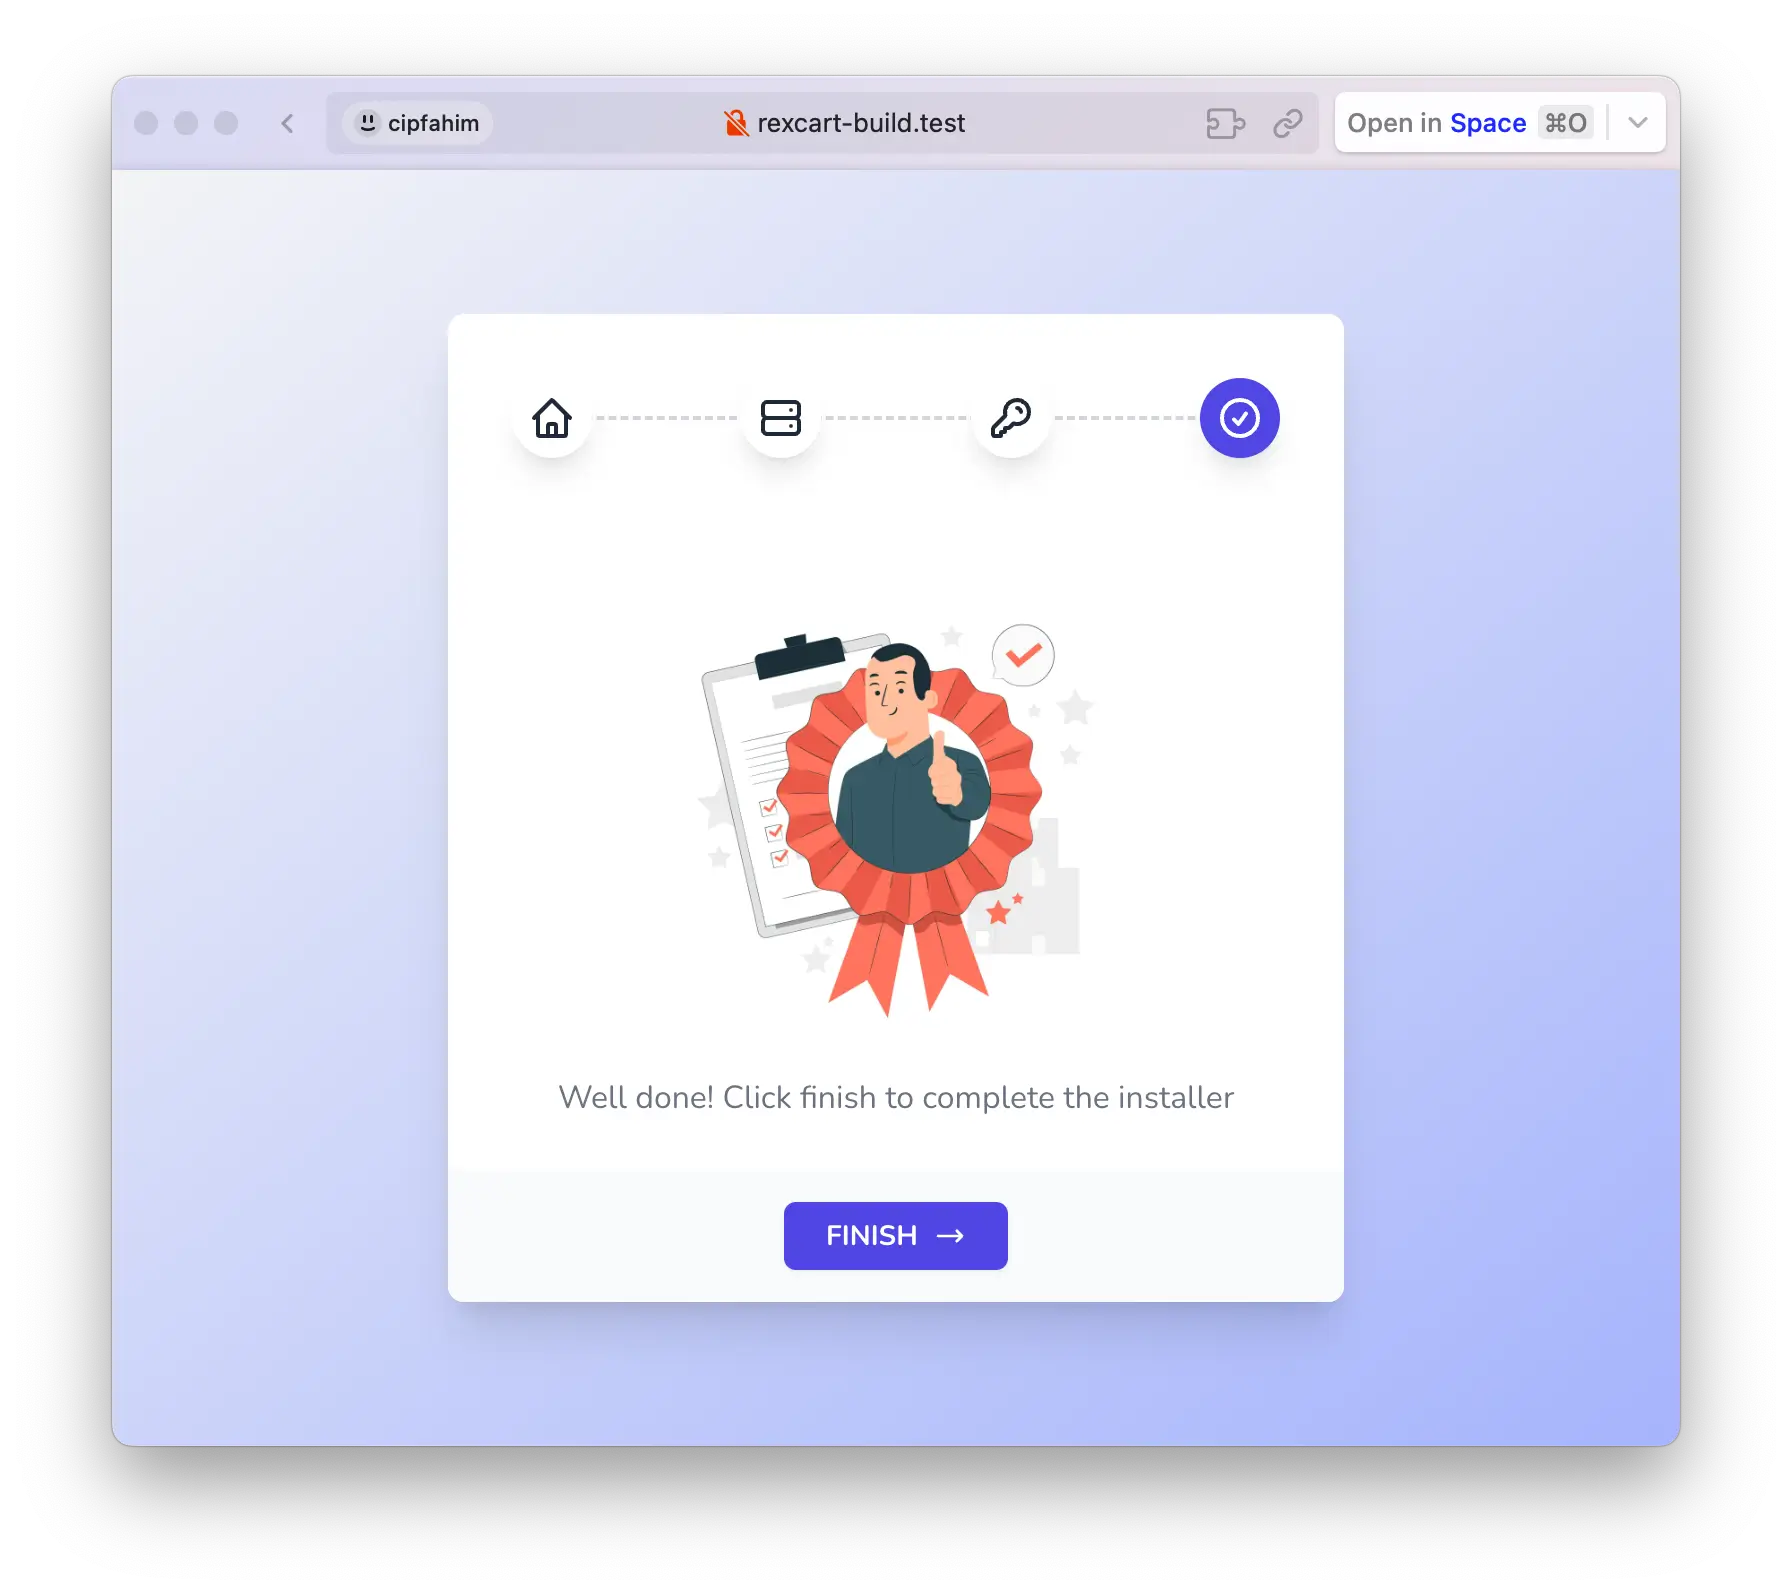
That's it.