Appearance
Products
The Products module is the control center for managing your store's inventory. From creating and editing products to deleting and managing stock, this feature ensures efficient product management for a seamless e-commerce experience.
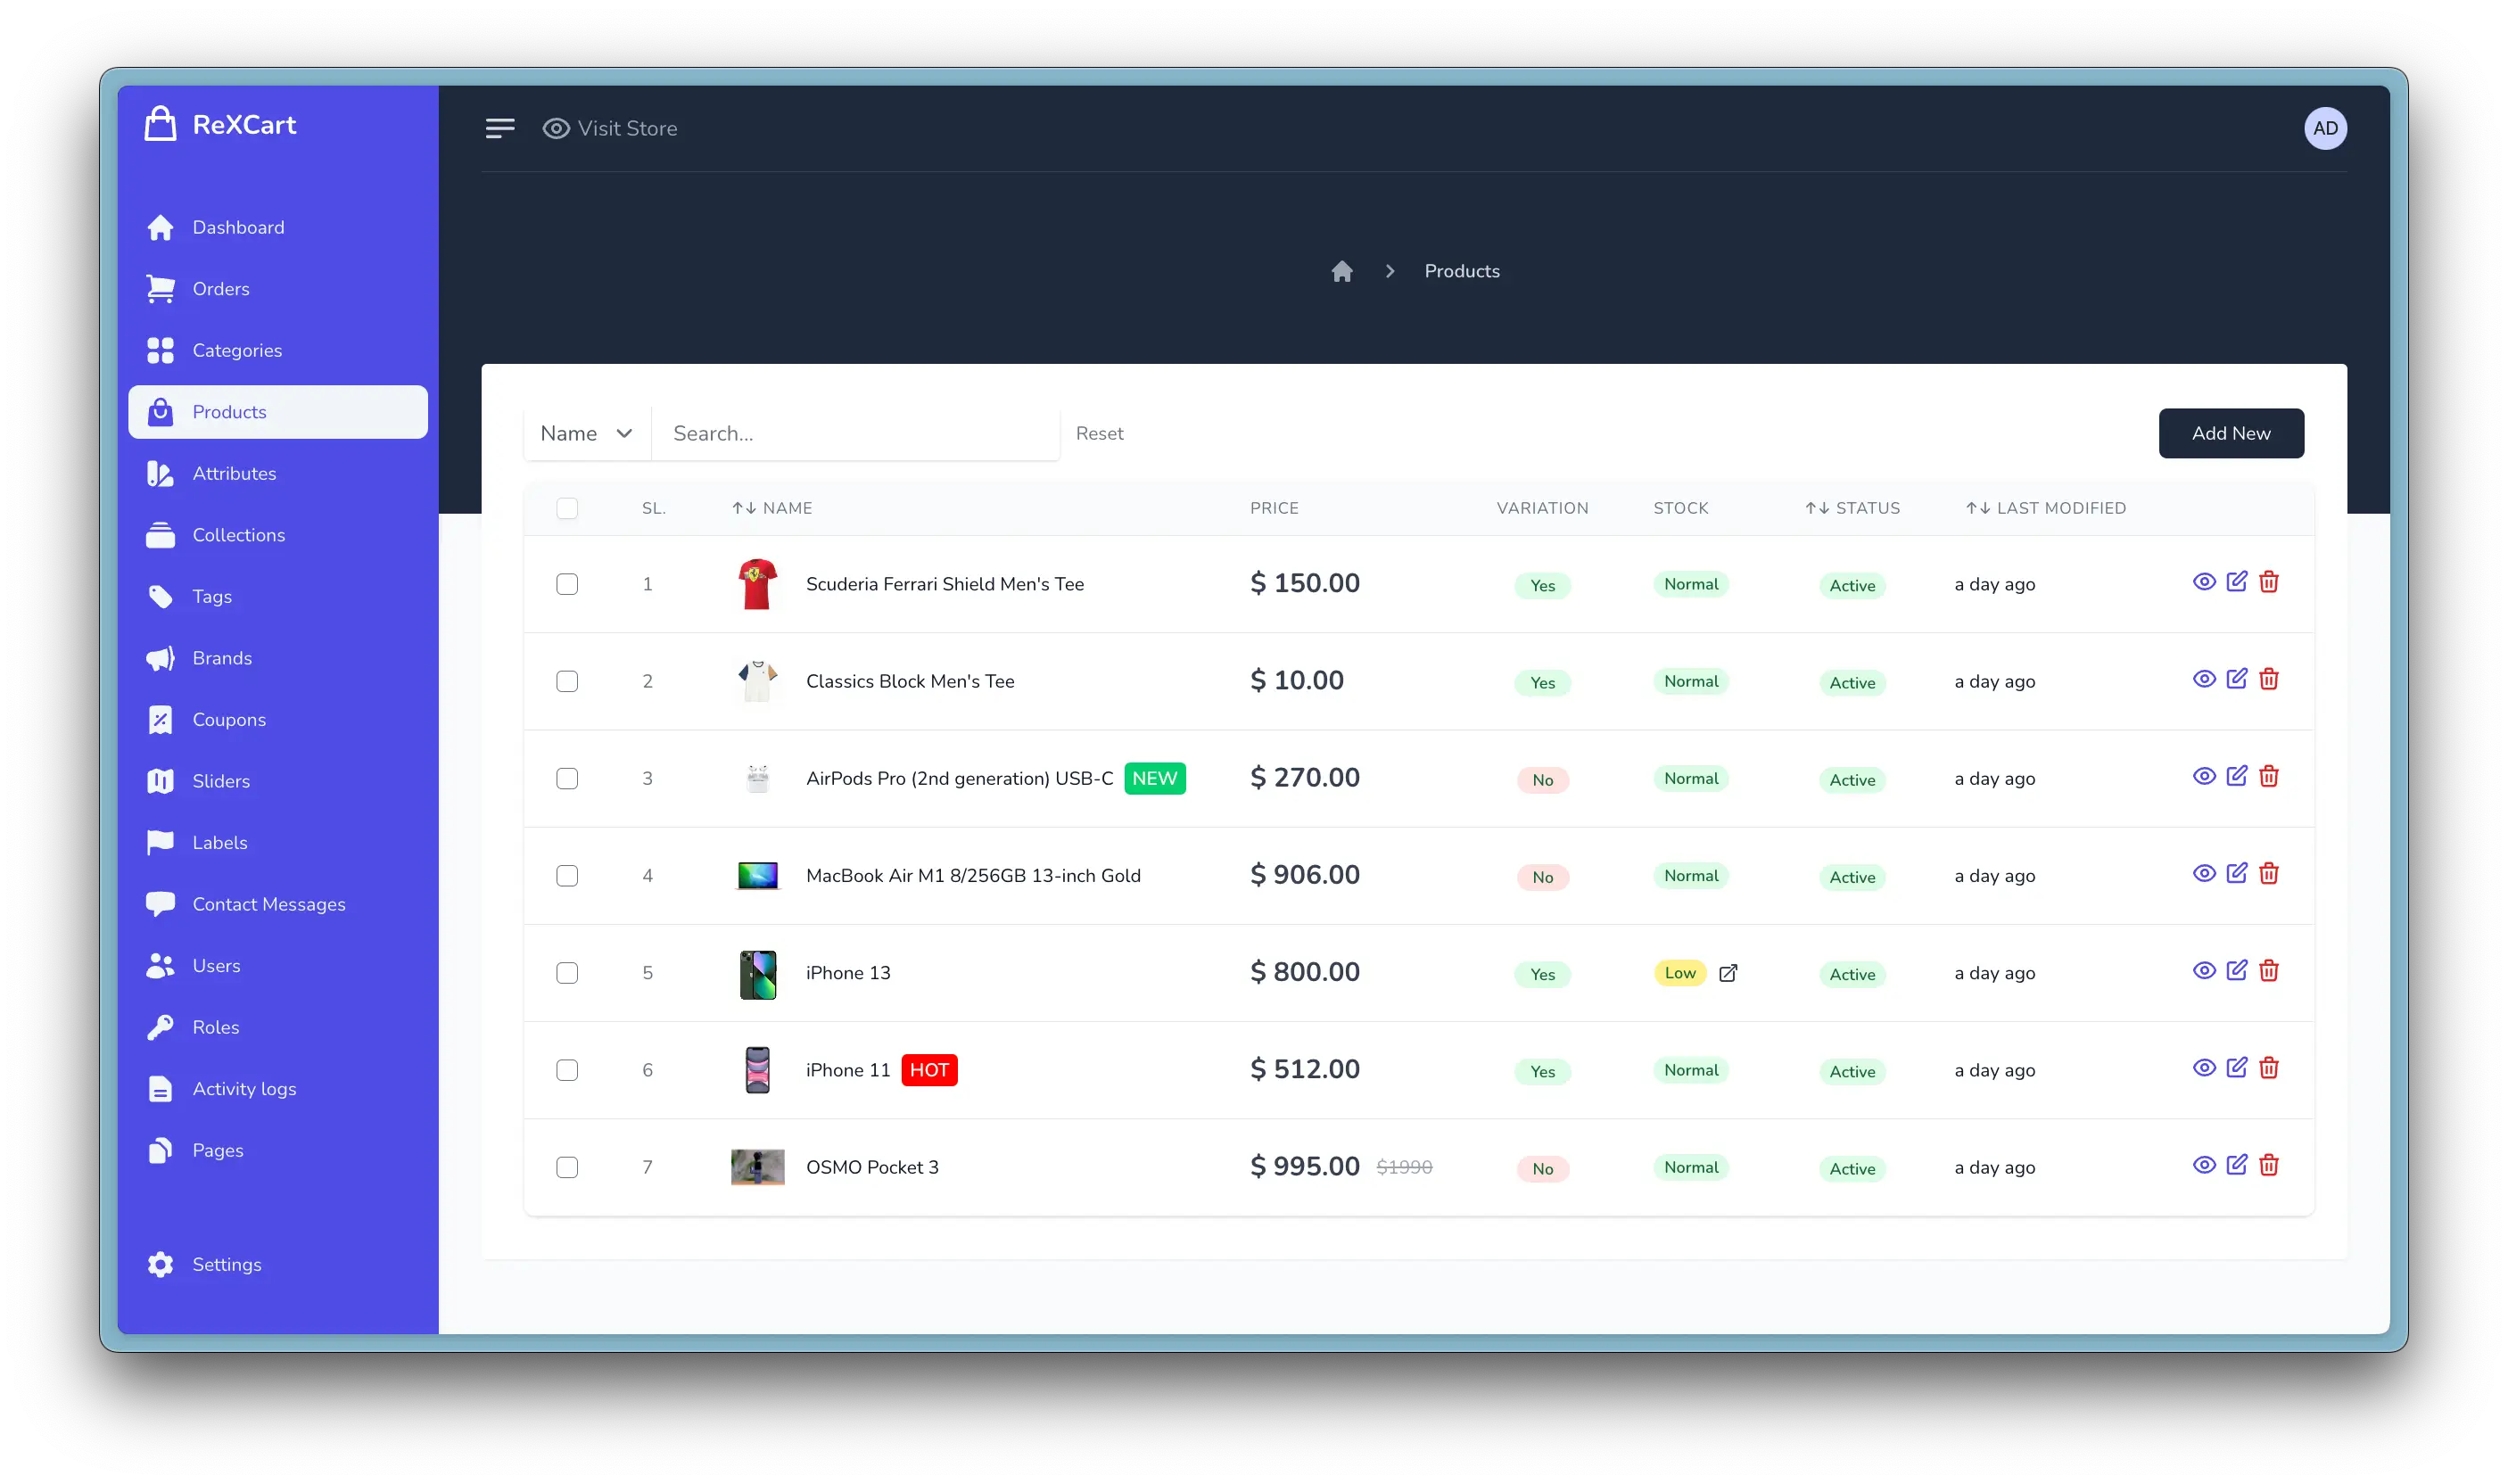
Easily add new products to your store with comprehensive details. Modify product information such as name, description, and pricing. Remove products that are no longer part of your inventory. Efficiently manage product stock levels to avoid overselling.
Effortlessly control your store's product catalog with the Products module, enabling you to maintain an up-to-date and organized inventory.
Creating Products - Step by Step
Go to Products > Create Product to initiate the creation of a new product in your store.
Step 1: General
The General section is where you input fundamental details about your product.

Product Name (Required): Enter the name of your product.
Description (Optional): Provide a short description of your product.
Brand (Optional): Assign the product to a specific brand.
Cateogries (Required): Assign the product to a specific categories.
Content (Optional): Provide a detailed description of your product.
Step 2: Images
In the Images section, you upload visuals to showcase your product.
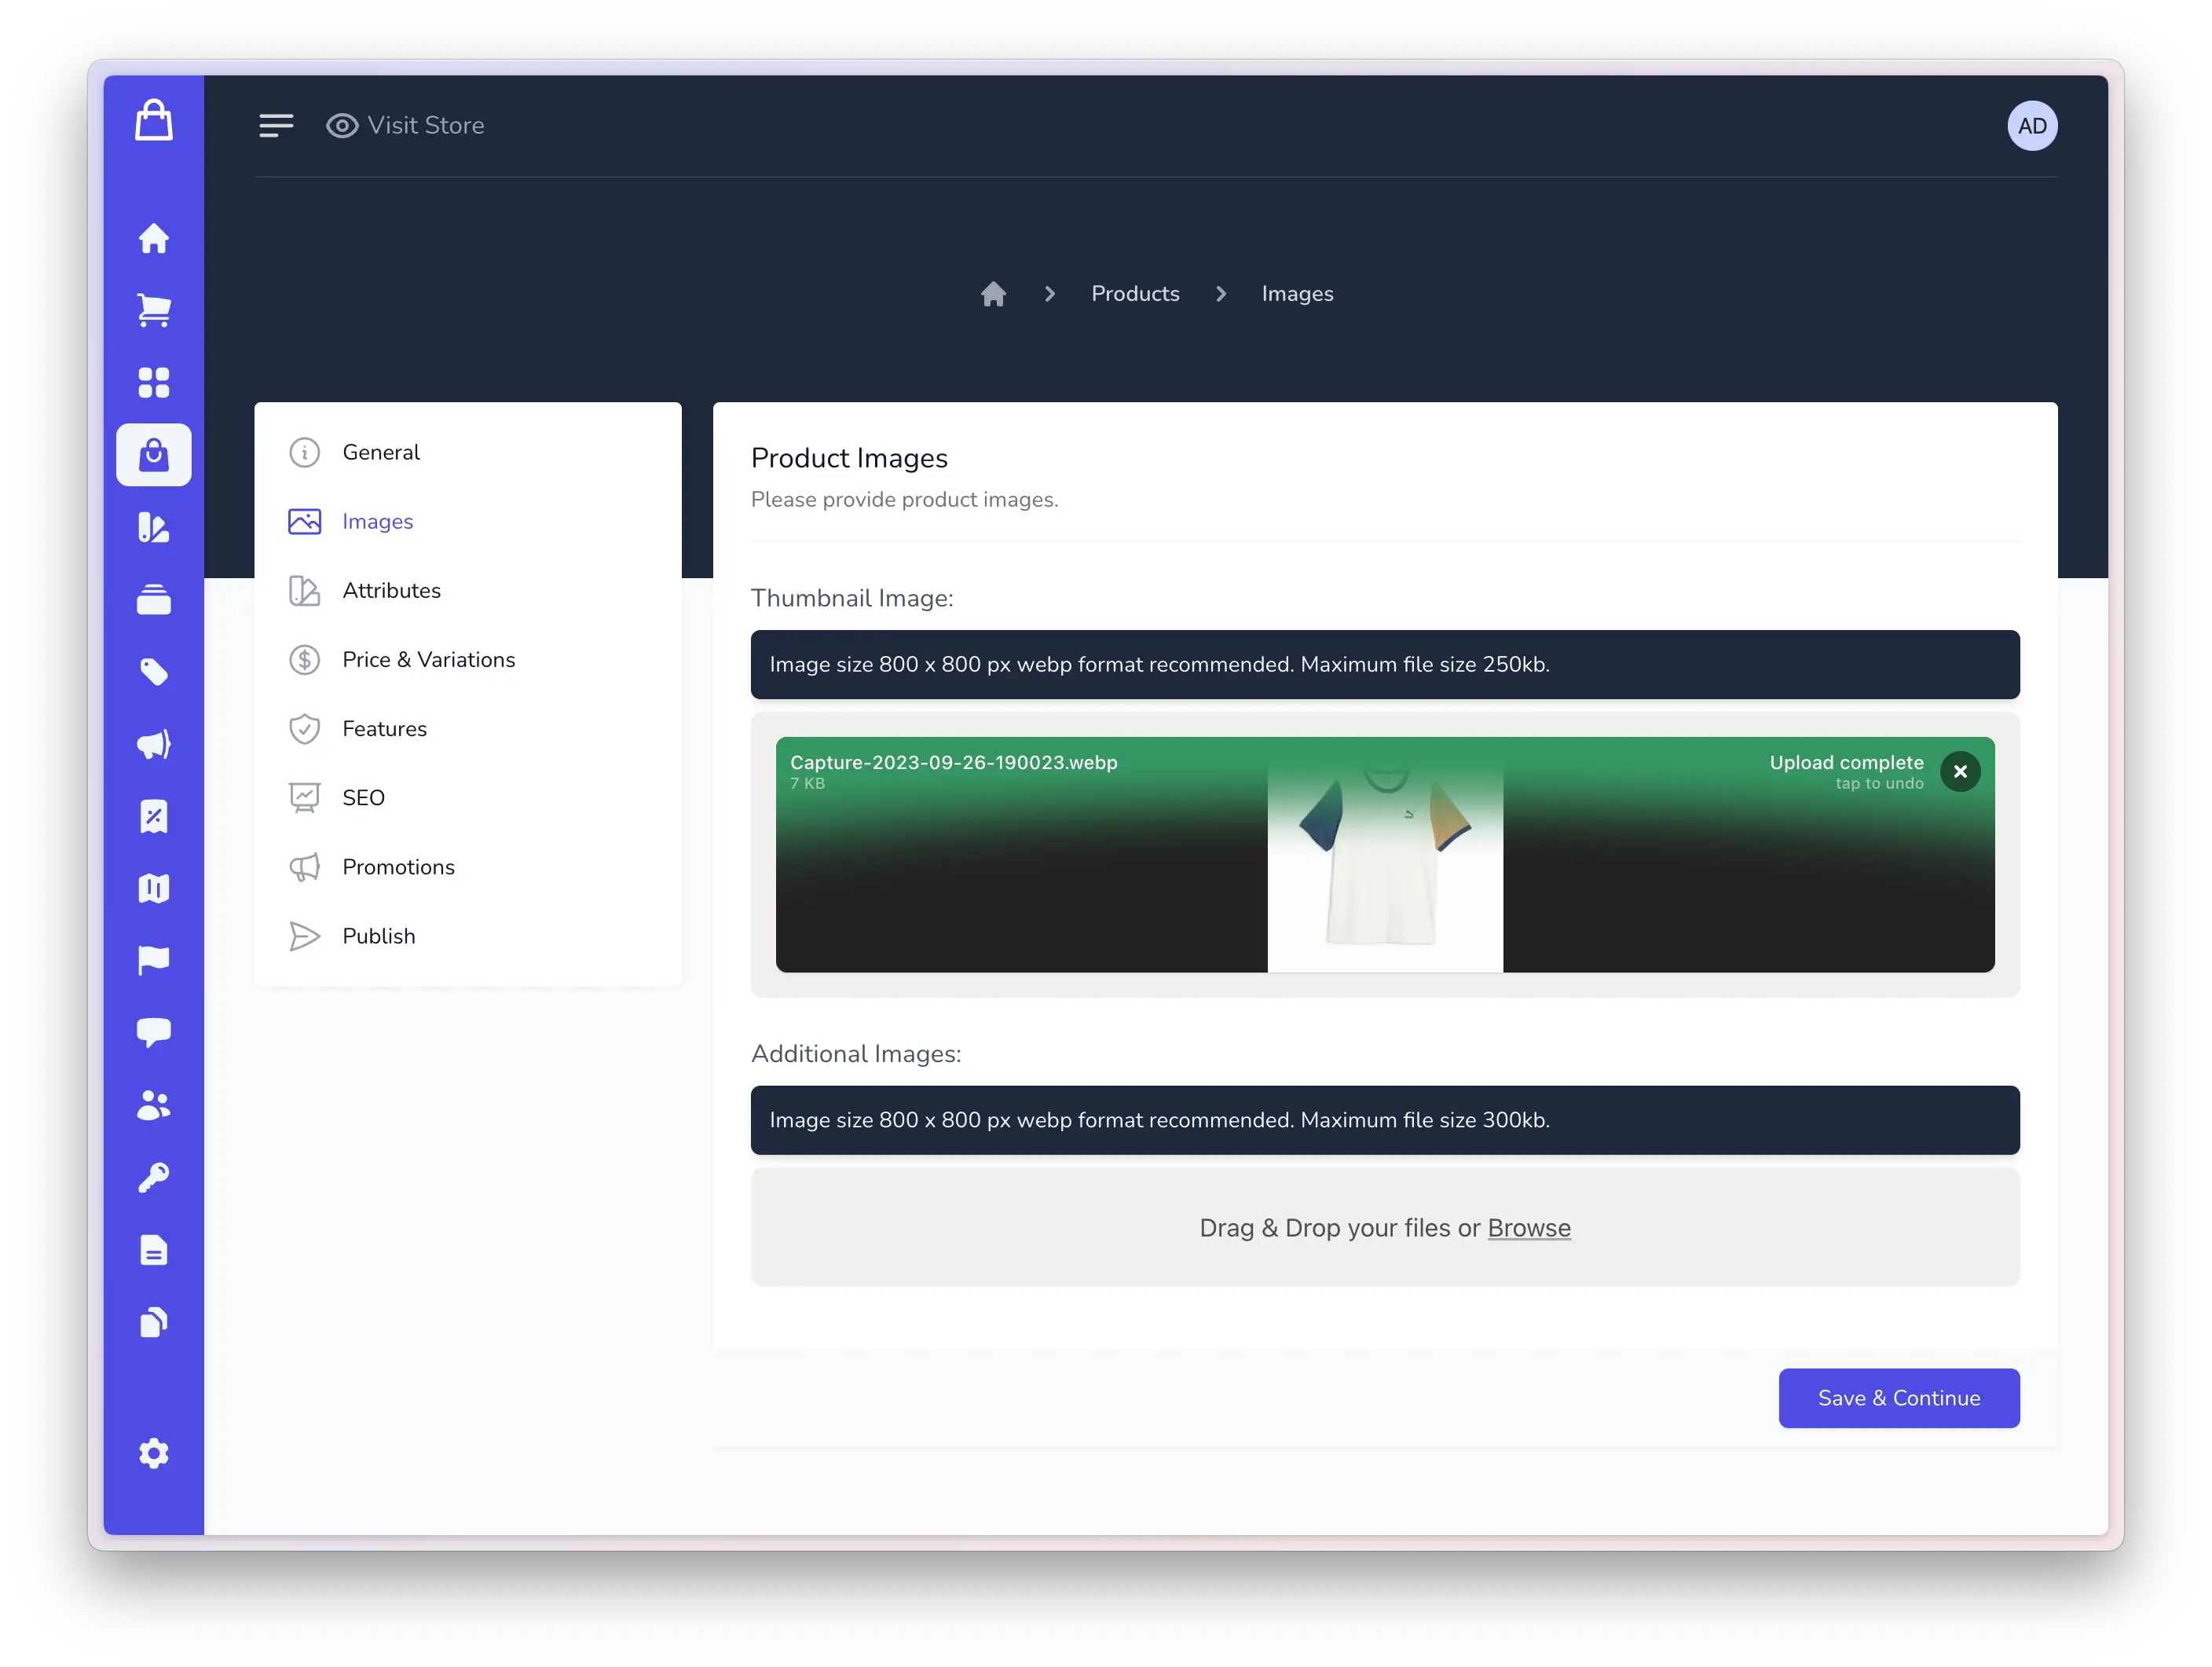
Thumbnail Image: Upload the primary image representing your product.
Additional Images: Add extra images to give customers a comprehensive view.
Step 3: Attributes
Attributes allow you to define specific characteristics of your product.
You have the option to add attributes from templates created earlier in the Attributes module (details will be discussed further in the Attributes module), or you can create a new attribute directly by clicking 'Create new attribute' here
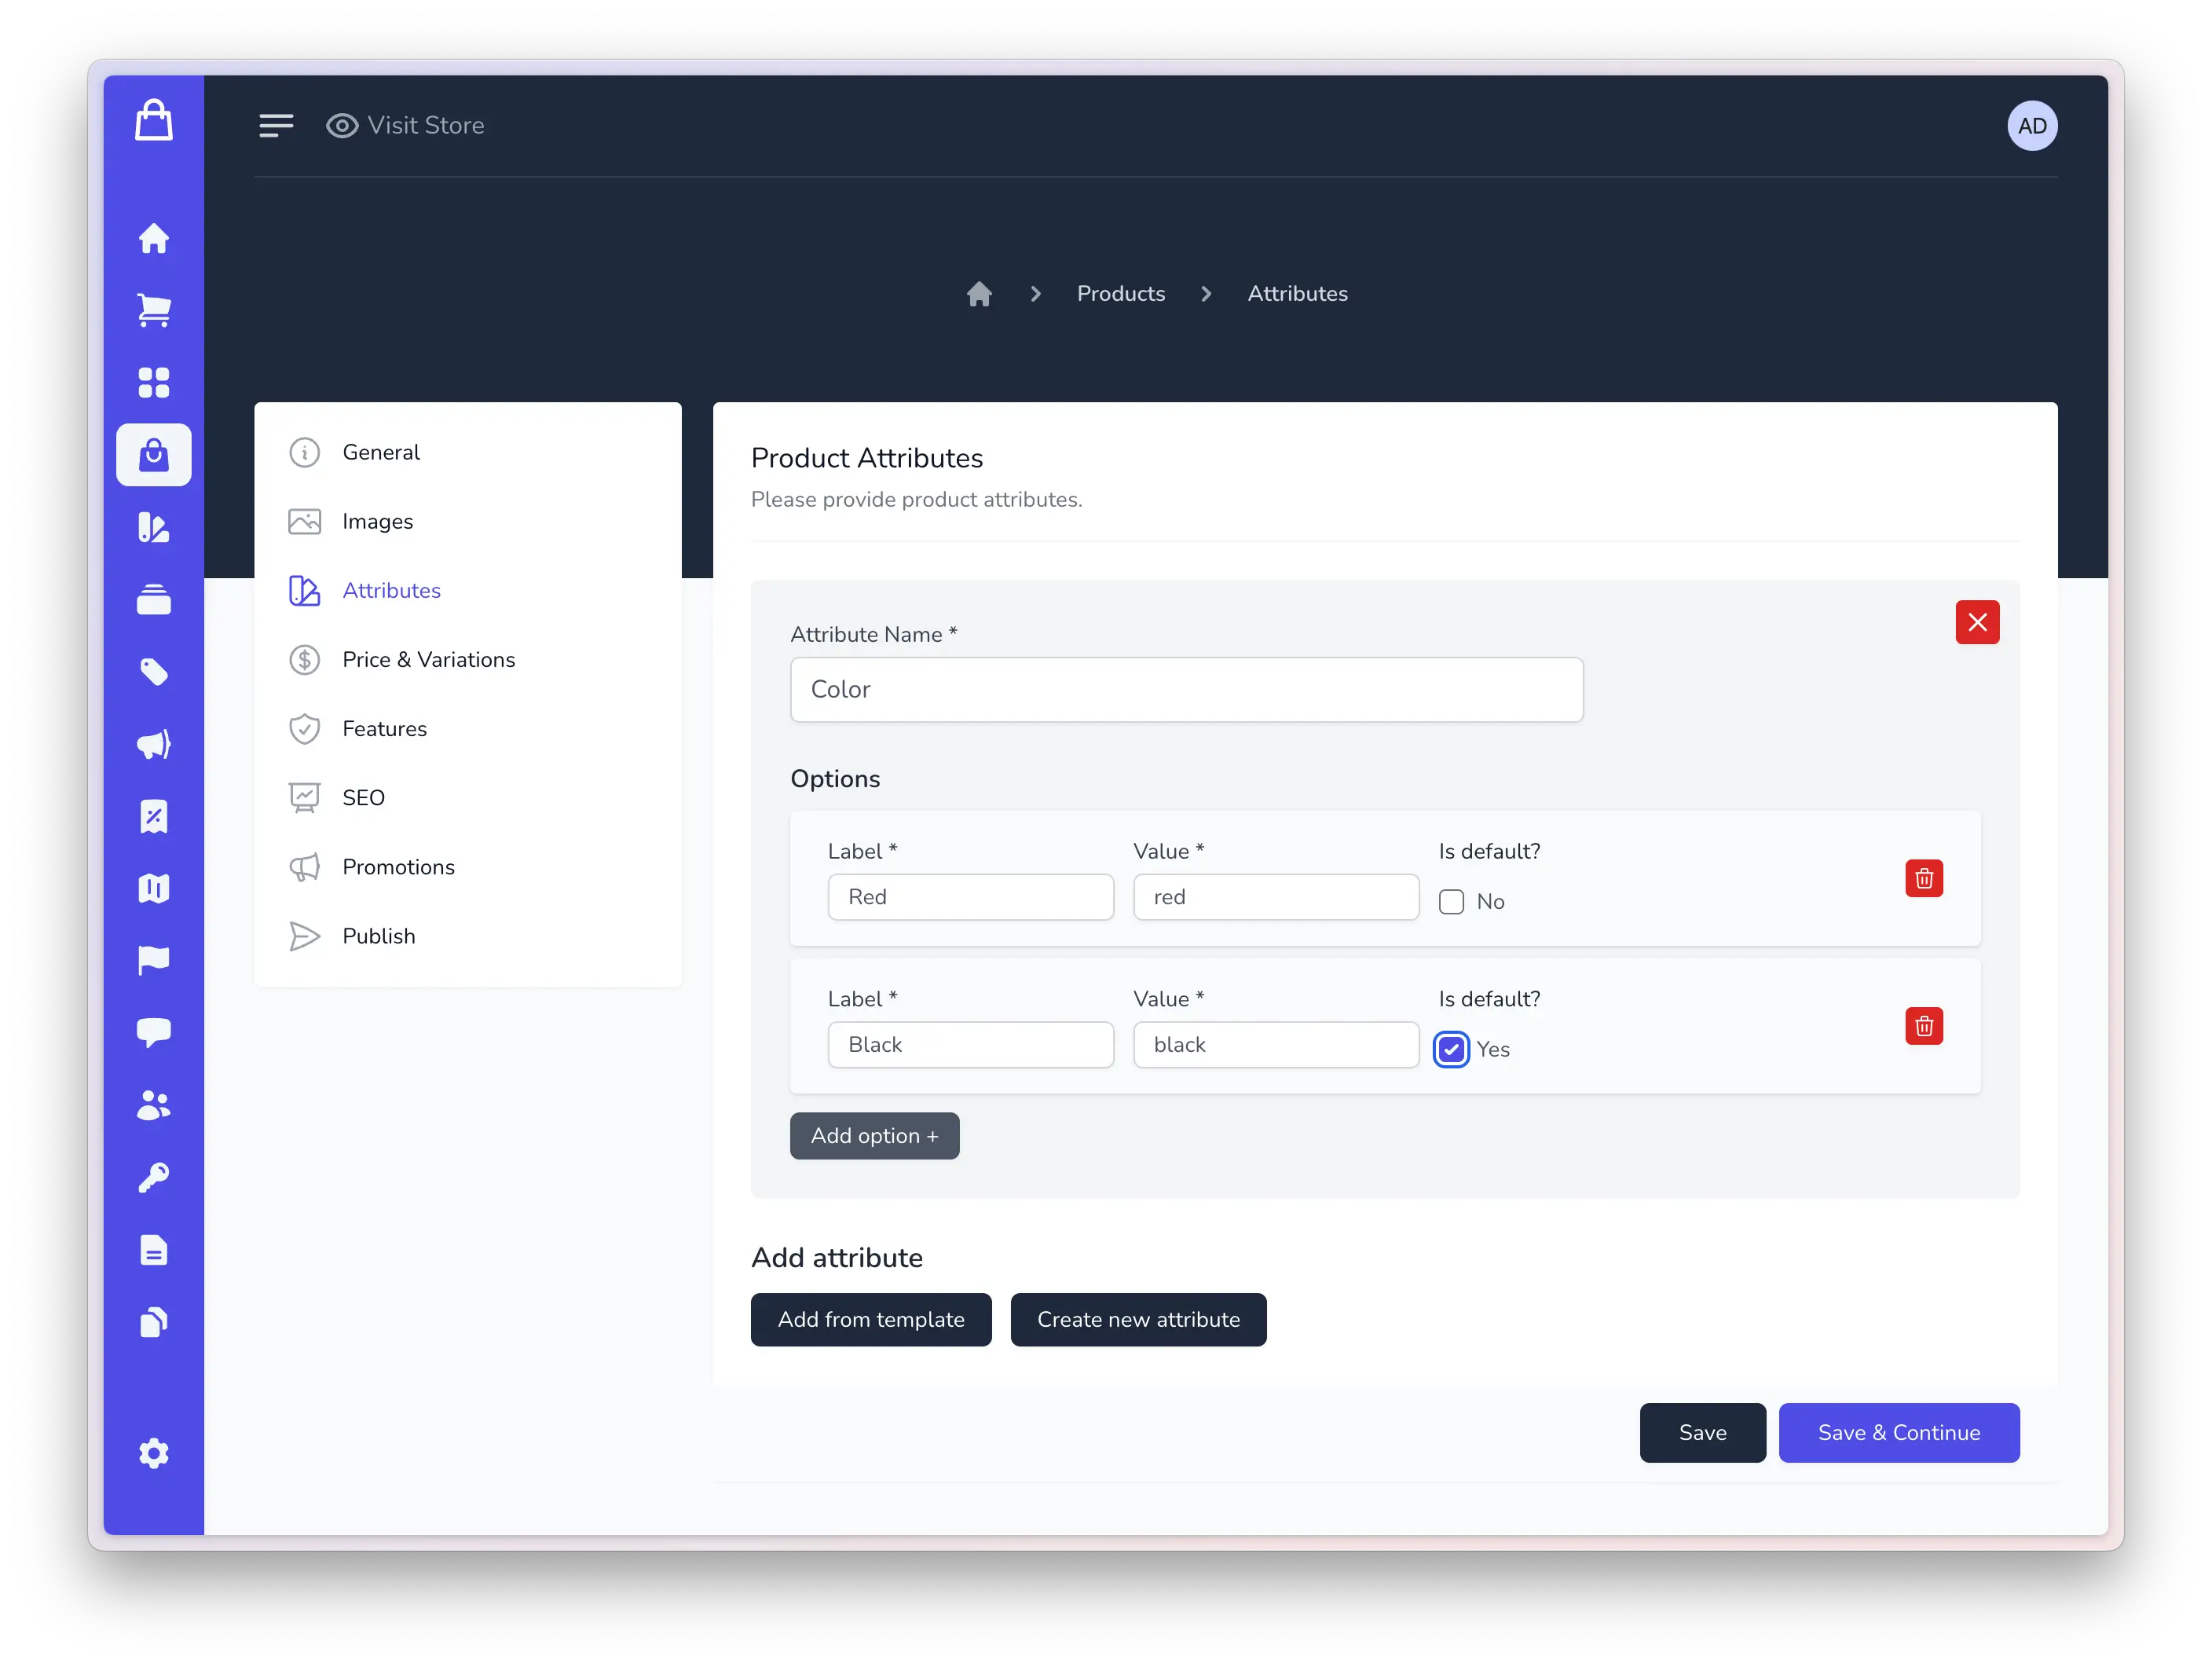
- Size, Color, etc.: Specify attributes like size, color, or any other relevant options.
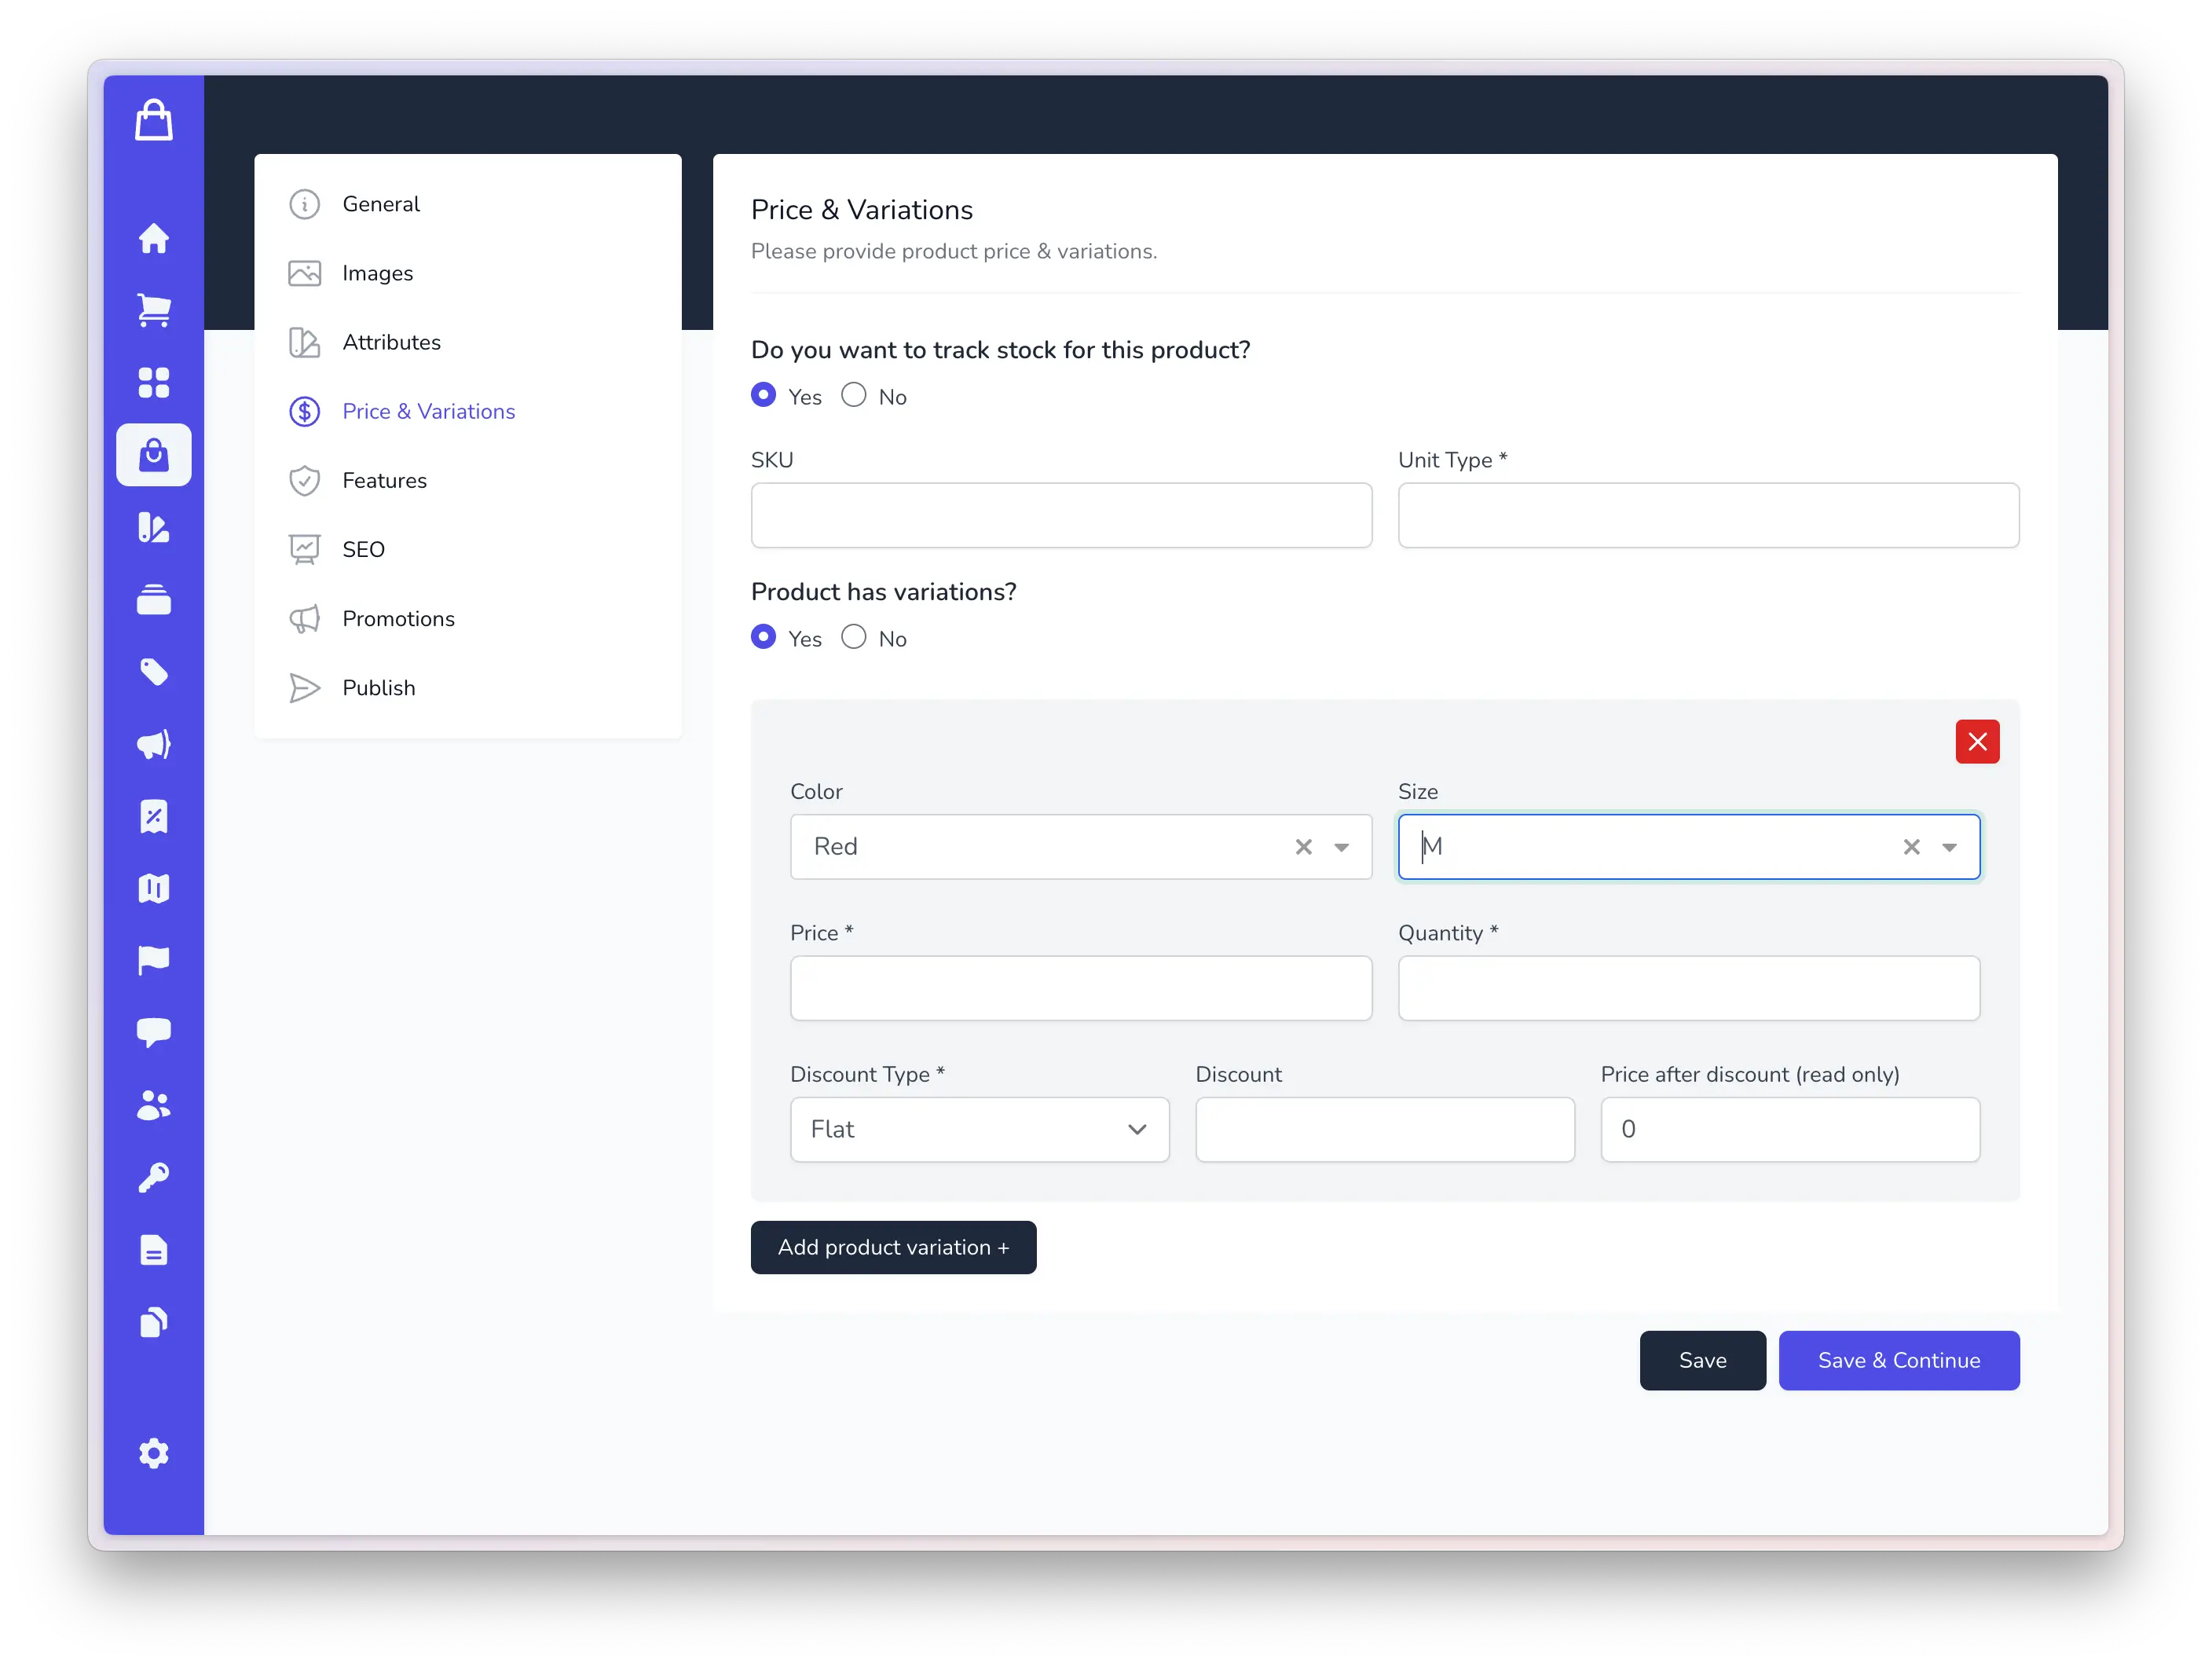
Step 4: Price & Variations
Set pricing details and manage product variations efficiently.
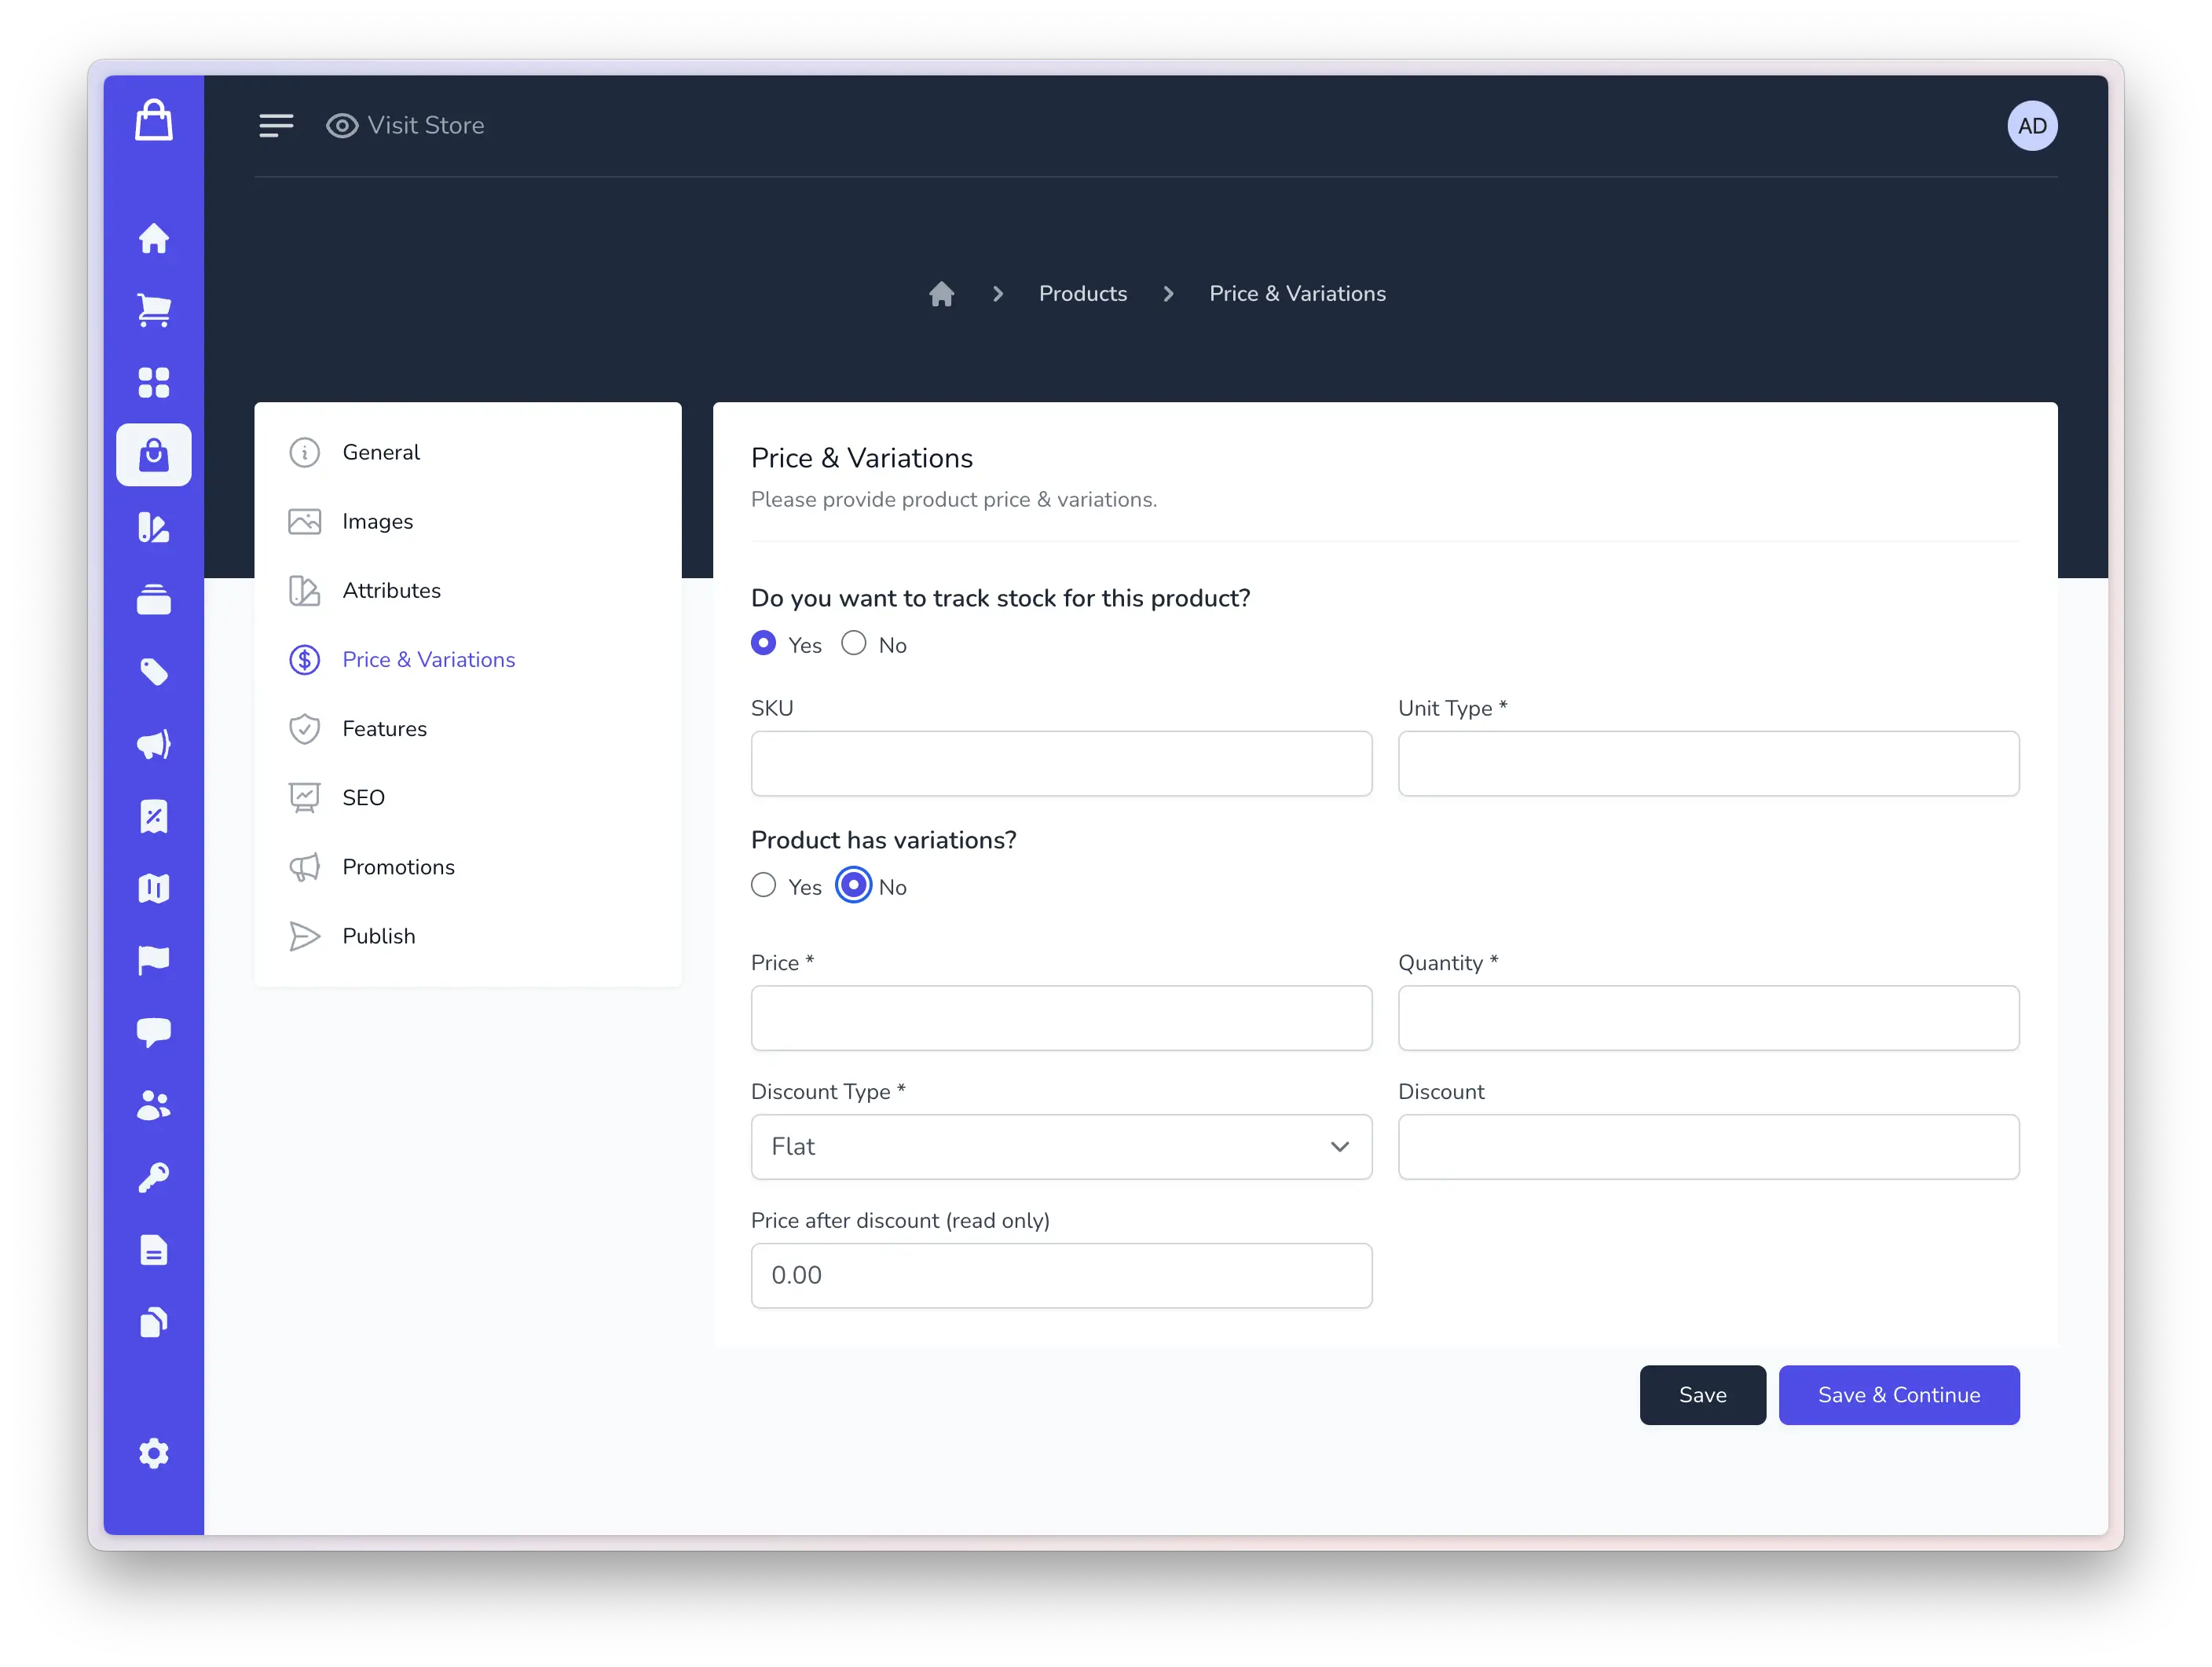
Manage Stock: Toggle to enable or disable stock tracking for the product. When enabled, the system will monitor and manage the product's stock levels.
SKU (Stock Keeping Unit): Enter a unique identifier for your product. The SKU is a distinct code used for internal inventory tracking.
Unit Type: Specify the unit type for the product, such as pieces, sets, kilograms, etc. This helps in providing clear unit information.
Has Variations: Toggle to indicate whether the product has variations (e.g., different sizes or colors). If enabled, you can define variations in subsequent steps.
Price: Set the base price for the product. This is the initial cost before any variations or discounts are applied.
Quantity: Input the available quantity of the product in stock. This field is relevant when stock tracking is enabled.
Discount Type: Choose the type of discount to apply, whether it's a fixed amount or a percentage. This determines the discount calculation method.
Discount: Enter the discount value based on the chosen discount type. This field determines the amount or percentage of the discount applied to the product.
If Has Variations is set to true, you'll need to add product variations based on previously added attributes. This step allows you to customize and define variations of the product, such as different sizes, colors, or other attributes you've set up
Step 5: Features
Highlight unique features or specifications of your product. List distinctive features that make your product stand out. 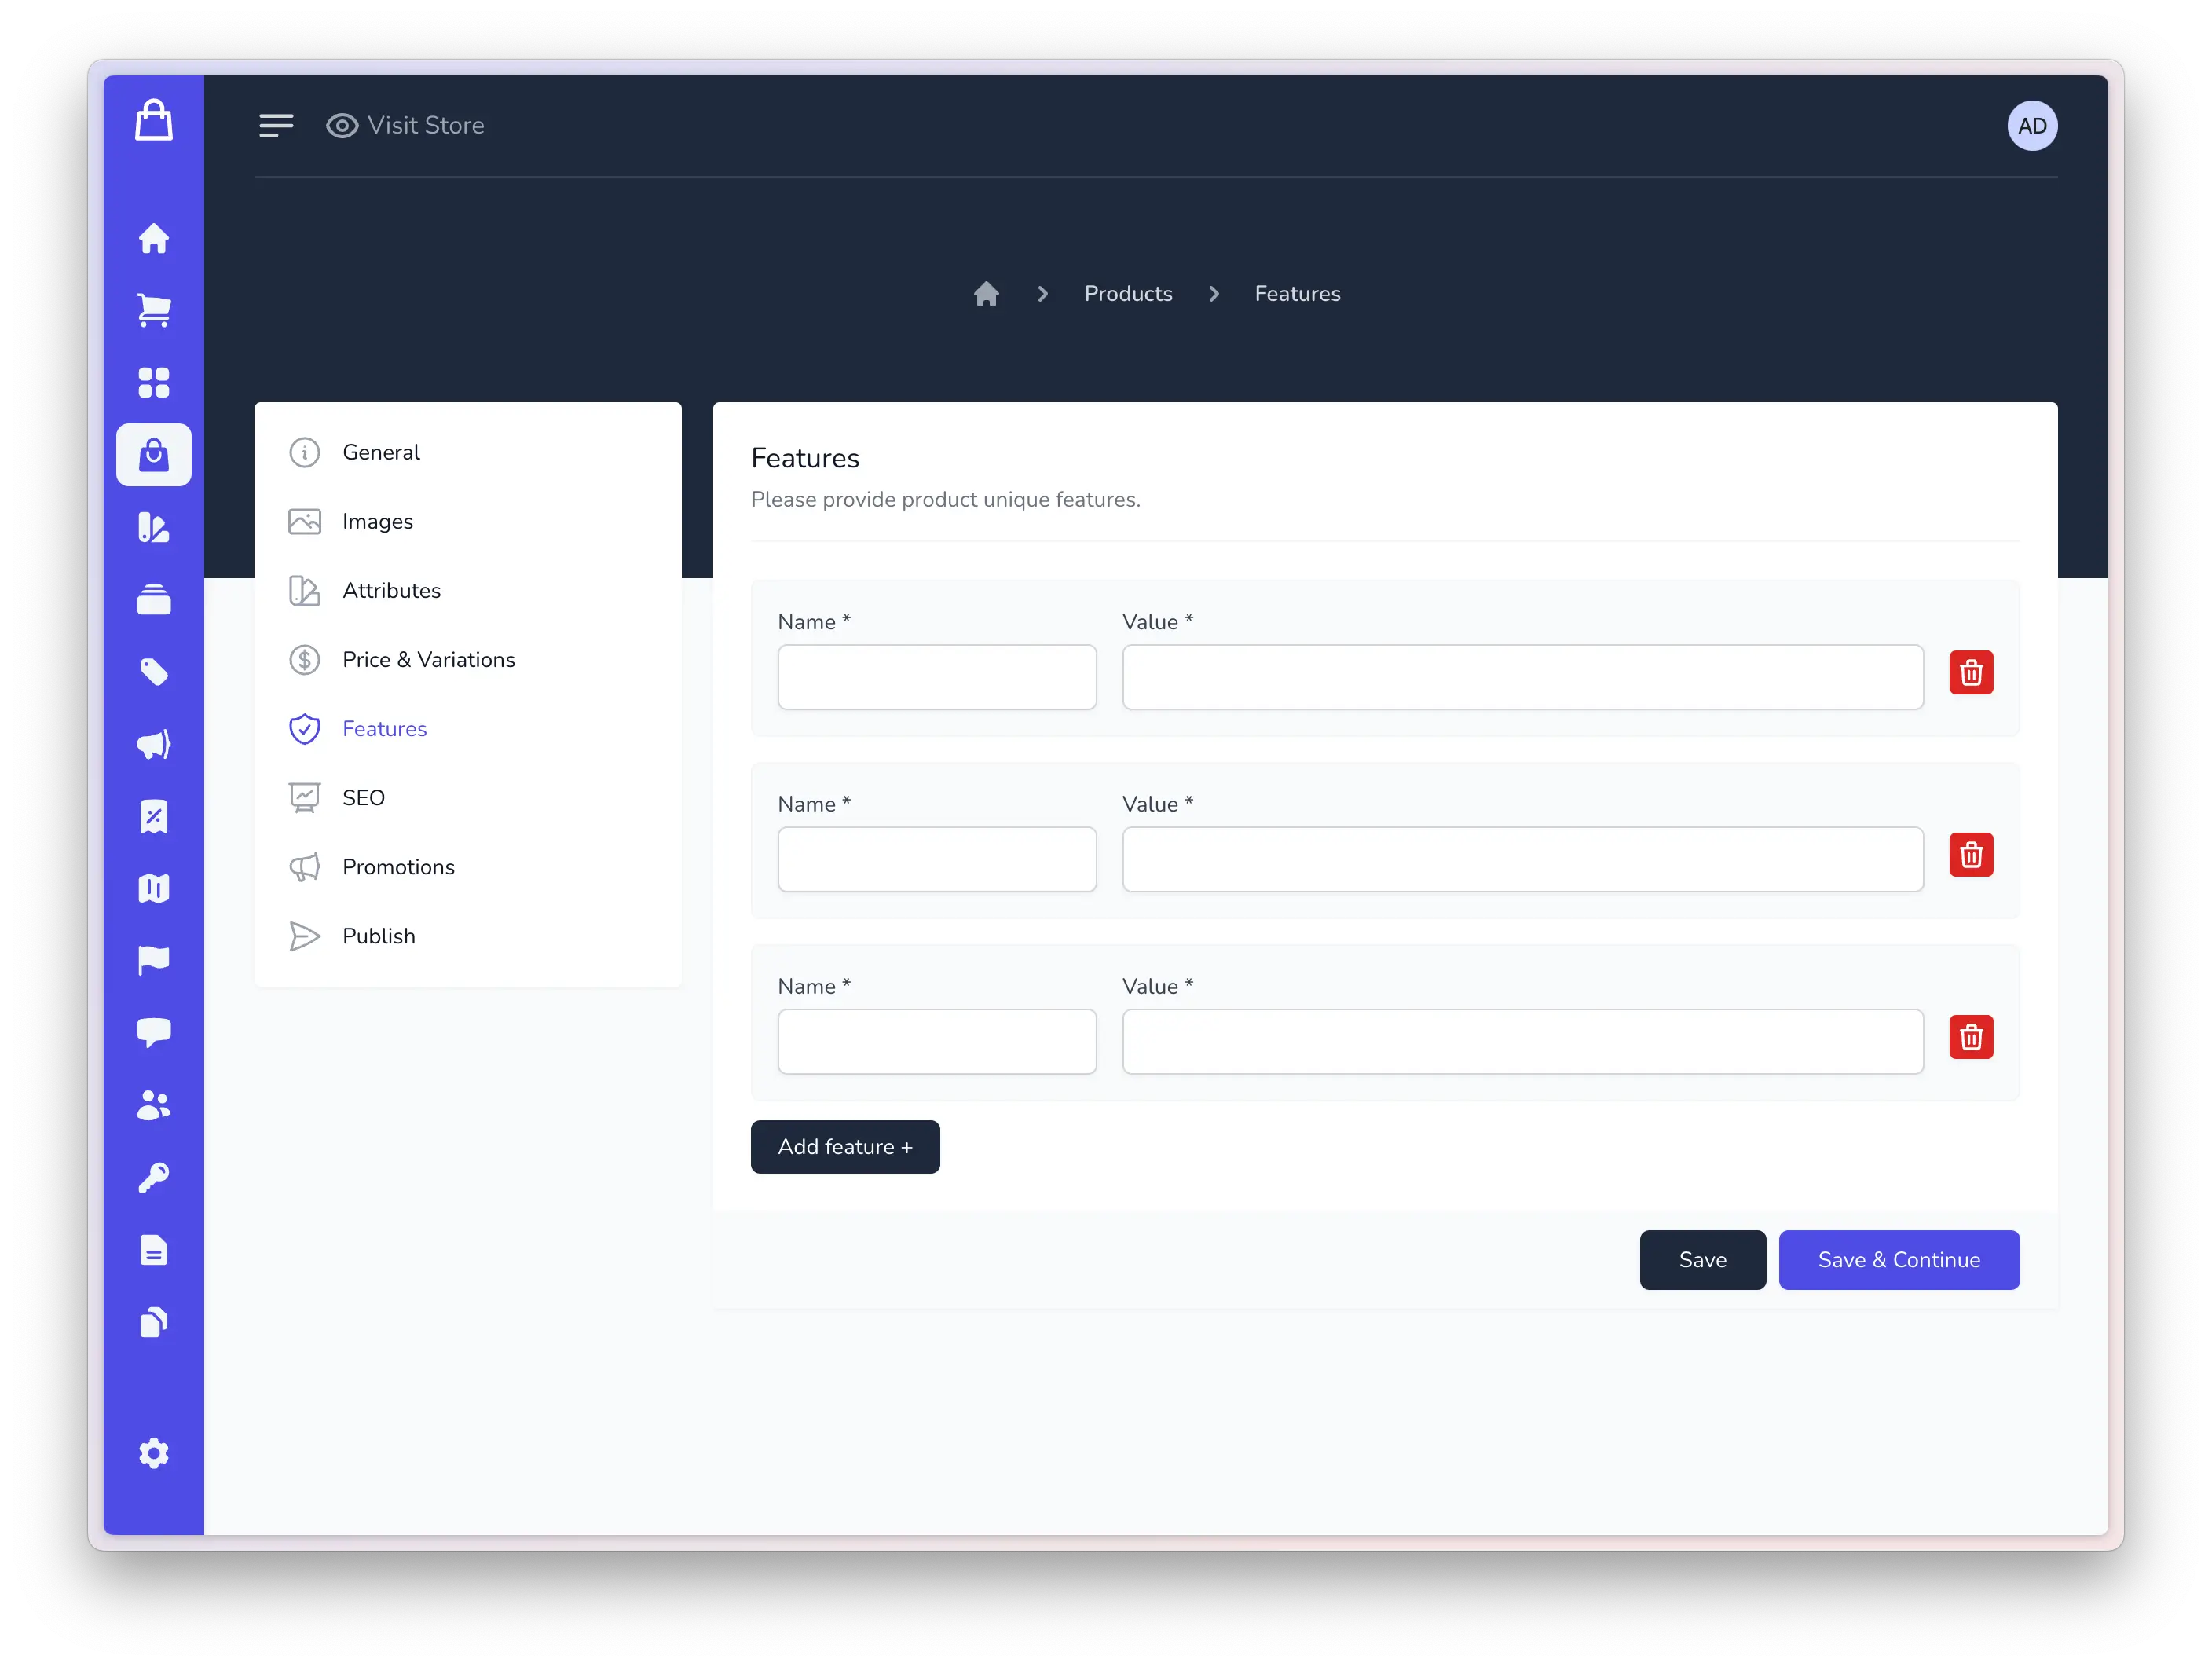
Step 6: SEO (Optional)
Optimize your product for search engines to improve visibility.
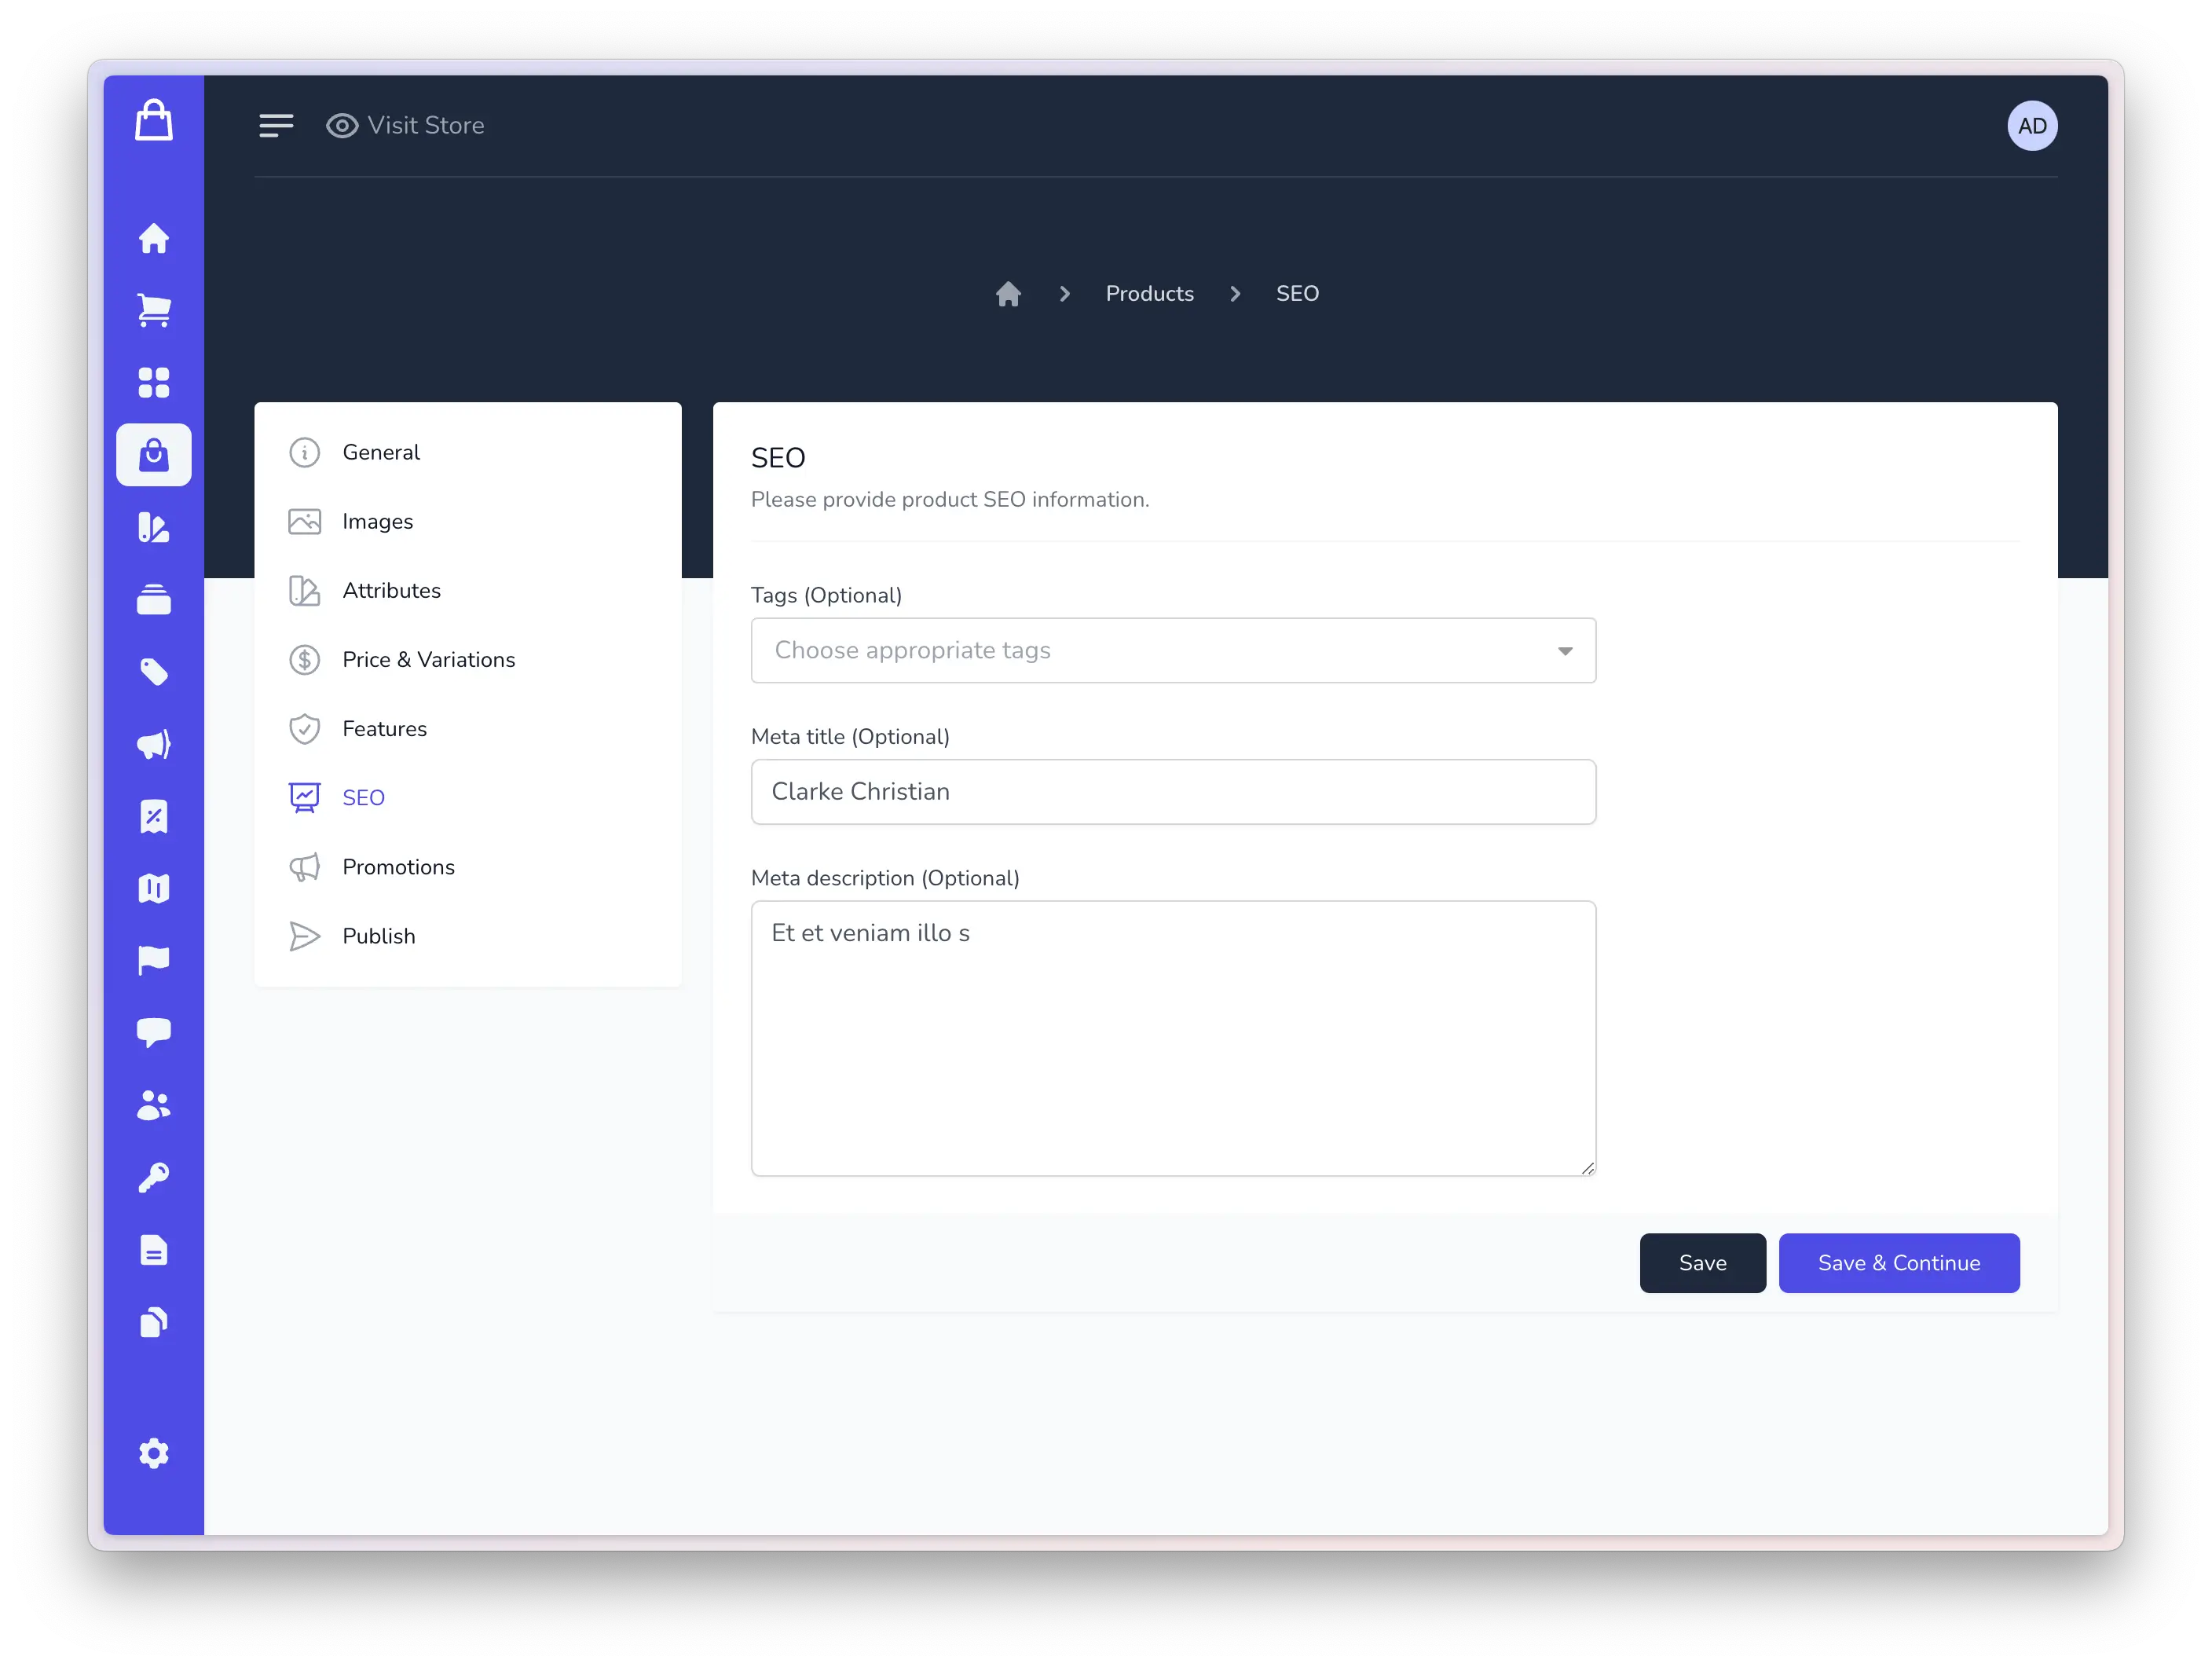
- Tags: Assign the product to a specific tags.
- Meta Title: Craft a concise and descriptive title for search engines.
- Meta Description: Write a brief yet informative description for search engine results.
Step 7: Promotions
In the Promotions step, users can set up a product label, which can be created in the Label module (refer to the Label module for more details). This label will be displayed on the product card and within product collections, indicating specific promotions, discounts, or other special attributes associated with the product.
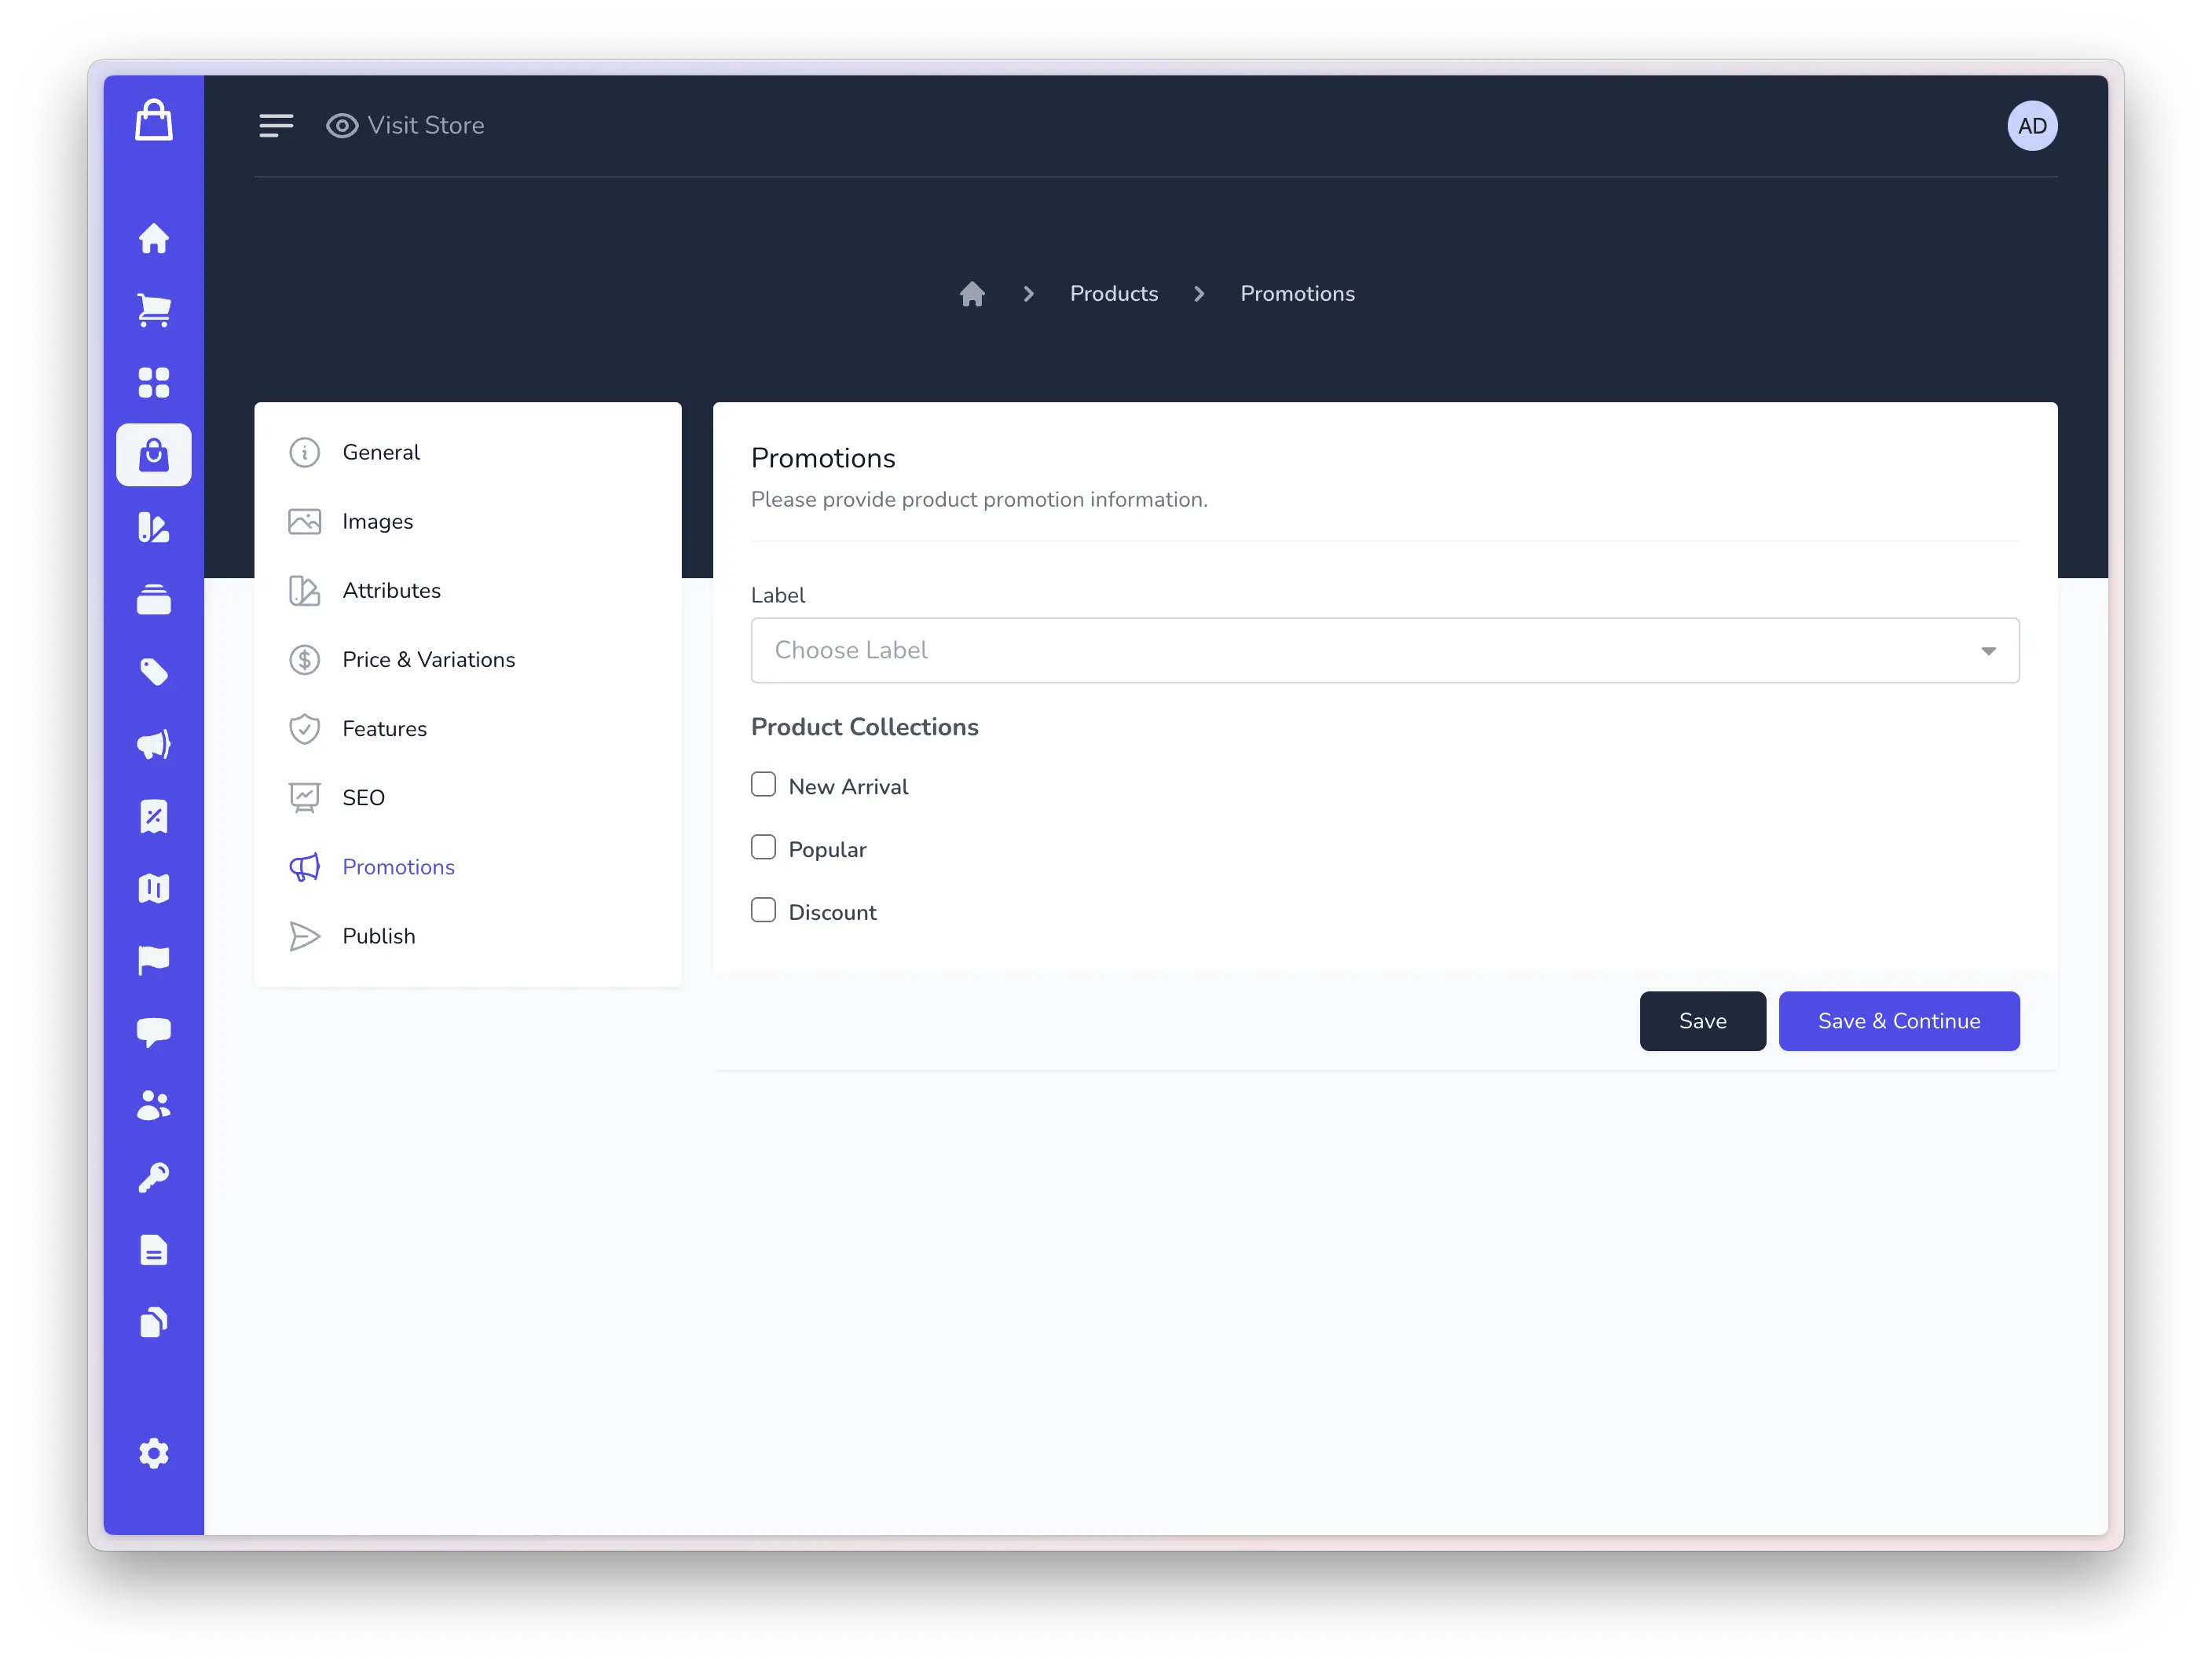
- Label: Assign a product label to highlight specific promotions, discounts, or special attributes associated with the product. This label is created in the Label module.
- Product Collections: Choose the product collection(s) in which the product will be featured within the store. This field allows you to organize and categorize products for better visibility and navigation.
Step 8: Publish
Choose the product status from options like 'Draft,' 'Active,' or 'Inactive.' This status determines the visibility and availability of the product on your store. 'Draft' signifies a work-in-progress, 'Active' makes the product live, and 'Inactive' temporarily removes it from view.

Finally, review and publish your product to make it available on your store.